
How to Upgrade Your Windows Without Drilling a Single Hole
The average renter in the US forfeits over $100 from their security deposit on wall and trim damage. Window treatment installation — drilling into casings and frames — is one of the top three cited causes. Most of it is completely avoidable.
Modern no-drill mounting systems have nothing in common with the suction-cup blinds people remember from ten years ago. Today’s tension-bracket and clip-mount systems grip window casings firmly, hold 15 to 20 pounds without slipping, and leave zero trace when removed. They’re not a workaround — they’re often the better option.
This guide covers how to measure correctly, install without mistakes, and pick between the two types of no-drill shades that matter: light filtering versus blackout. Buy the wrong one for your room and you’ll be shipping it back by Tuesday.
Why Windows Make or Break a Room (and Nobody Fixes Them)

Windows cover more visual surface area than most people register. A standard 36-inch window in a room with 8-foot ceilings represents roughly 25 square feet of visible space. That’s not a minor detail — it’s more wall than most gallery walls cover.
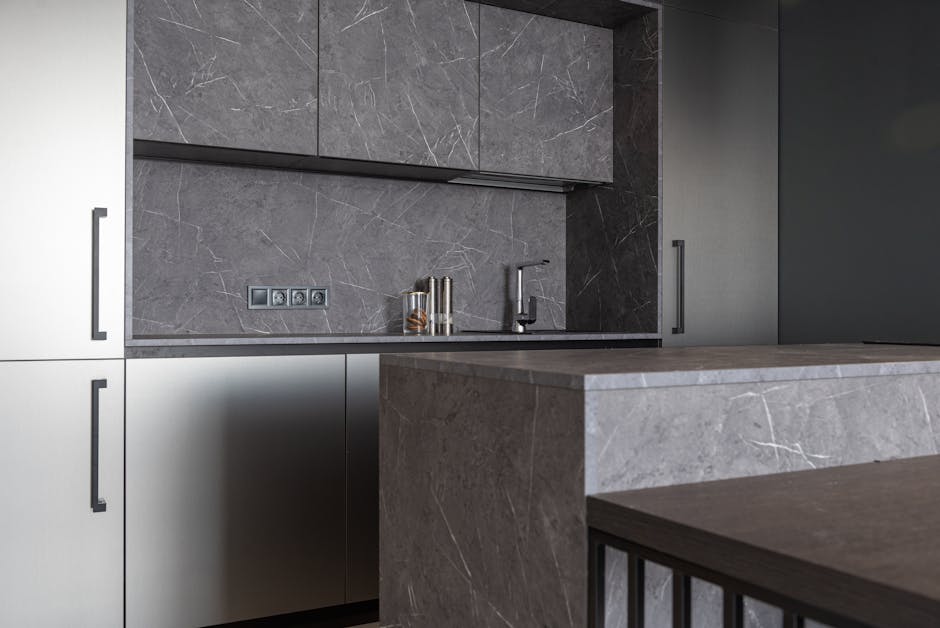
Rooms that feel “almost there” but never quite land usually have a window problem. The furniture works, the walls are painted, the floors are clean. But there’s an original builder mini-blind from 2009 with a knot in the pull cord and a bent slat on the third row. That single element signals unfinished to your brain, regardless of everything else in the space.
What Mini-Blinds Actually Communicate
Standard aluminum mini-blinds — Levolor’s 1-inch slat blind runs $12 to $22 at Home Depot — solve a functional problem. Light control, basic privacy, minimal cost. But they read as institutional and temporary in any residential setting. They rattle in HVAC drafts. The slats bend permanently if anything brushes against them. Cleaning them requires a bathtub and 45 minutes you won’t get back.
Roller shades and zebra blinds solve all of this. One continuous fabric panel, no slats to trap dust, no dangling cords on cordless models. The Chicology Cordless Zebra Roller Shades (starting around $35 to $60 depending on size) pushed this style into the mainstream. Alternating sheer and solid fabric layers on a single roll read as custom drapery from across the room — in a way that a row of aluminum slats simply never will.
One buyer who replaced their existing window treatments described the shift plainly: “They look incredibly modern and much more expensive than they actually are.” That’s the real value here. Not just privacy or light control — but a window that looks like a deliberate design choice rather than a landlord default.
The Financial Case for Switching Now
For renters: drilling into window trim costs $50 to $100 in patch-and-repaint fees per repair site at move-out. No-drill systems eliminate that risk entirely. At $76.49 for a quality no-drill zebra blind, the upgrade pays for itself if it prevents even one security deposit dispute.
For owners: the National Association of Realtors consistently includes window treatments in its list of low-cost improvements that measurably improve buyer perception. A $76 blind that photographs like a $200 custom shade is a real return on investment before you list.
The Bali Blinds line — typically $60 to $120 at Home Depot — is the big-box reference point for this category. What dedicated no-drill alternatives offer that Bali often doesn’t: installations that take under 15 minutes and leave zero damage on the window casing. For historic homes, rentals, or any space where frame preservation matters, that distinction is significant.
The 6-Step Measuring Process That Eliminates Wrong Orders
Incorrect measurements cause more blind returns than defective products. A blind half an inch too wide for an inside-mount window won’t fit. A blind too narrow for an outside mount leaves visible light gaps on both sides. Both are measurement errors, not product failures. Do this process before ordering anything.
- Choose your mount type first. Inside mount sits within the window recess — a cleaner, built-in look that requires at least 1.5 inches of depth inside the frame. Outside mount installs above and around the frame, works on any window regardless of depth, and visually enlarges the window opening by extending beyond it.
- Measure width at three heights. Top, middle, and bottom of the window opening. For inside mount: take the narrowest of the three and deduct 1/4 inch for clearance. For outside mount: take the widest measurement and add 3 to 4 inches on each side to prevent edge light gaps.
- Measure height at three widths. Left edge, center, and right edge. For inside mount: use the longest measurement. For outside mount: add 3 to 4 inches above the frame so the blind fully clears the glass when raised.
- Record two separate numbers: raw opening size and adjusted purchase size. These are not the same number. Confusing them — especially for inside mount — is the most consistent ordering mistake across reviews and retailer return data.
- Match to standard product widths. Most blinds ship in fixed standard sizes: 24″, 27″, 35″, 46″, 60″, 72″. Your adjusted width must match one of these. For outside mount, going slightly larger than your window is fine. For inside mount, the fit must land within 1/4 inch or the blind won’t sit properly in the recess.
- Check frame surface specifically for no-drill brackets. These systems grip the window casing directly and need a flat, solid surface at least 1 to 1.5 inches wide. Measure your casing now — don’t assume. Most standard American window casings pass without issue. Older aluminum-frame windows and some vinyl replacement units often don’t provide enough solid casing for the brackets to grip securely.
If your window has an arched top, rounded corners, or a slanted sill, standard rectangular roller shades won’t close cleanly around those shapes. Move to a custom option from Smith+Noble or Blinds.com — both offer made-to-measure shades with fitting options that off-the-shelf products don’t provide. For a normal rectangular window, everything above applies and you’re ready to order.
How to Install No-Drill Zebra Blinds: Step-by-Step
These installs fail for one reason almost every time: brackets that aren’t level. If one bracket sits even 3/8 inch higher than the other, the blind hangs visibly crooked and the dual-layer alignment never lines up properly. Fix that and the rest is fast.
The Joydeco No Drill Zebra Blinds use a side-grip bracket system that clamps directly onto the window casing. No anchors in drywall, no holes in the frame. Here’s the full process:
What to Have Ready
- The blind, unboxed and fully inventoried
- A level — a phone level app is fine
- A pencil
- Measuring tape
- Optional: heavier-duty #8 x 1.5-inch wood screws if your window casing is soft or aged wood
The hardware upgrade matters more than it sounds. One verified buyer noted they “did use different anchoring hardware as the ones that come with it are not as strong as I would prefer.” Old pine casing, painted-over softwood, or any frame that shows flex when pressed — swap in better screws before you start. A pack of #8 wood screws costs under $5 and installs in the same time as the included hardware.
Installation, Start to Finish
Lay out all parts before touching the window: roller unit, mounting brackets (usually two or three), and the valance cover. Identify each piece. This takes 60 seconds and prevents a mid-install parts search.
Hold the first bracket at your target position on the window casing and mark the mounting holes with a pencil. Repeat for the opposite side. Then — before mounting anything — use your level to confirm both pencil marks sit at the same height. This takes 20 seconds. Skipping it is the direct cause of the majority of “my blind hangs crooked” complaints.
Mount the brackets. For clip-grip systems: press the bracket onto the casing and tighten the tension knob until firm. For screw-in systems: drive screws through the marked holes into the solid casing wood. These go into actual wood, not drywall, so they hold reliably even with the included hardware — unless your casing is soft, in which case use the upgraded screws.
Hold the roller unit up and press each headrail end into its open bracket. You’ll feel a click on each side. Push down gently — the blind should not move at all. If it does, the headrail isn’t fully locked in. Pop it out and re-seat it until both clicks are solid.
Press the valance cover onto the front of the headrail with firm, even pressure from left to right until it sits flat. Then test the free-stop system: pull the blind down slowly and release at different heights. It should hold exactly where you leave it with no drifting. If it slides back after you release, the headrail isn’t fully seated — re-check the bracket clicks.
Nine verified buyers specifically called out how fast and straightforward this was. The consistent description was “super easy to install and exactly as advertised.” Total time: 8 to 12 minutes for the first window, 5 for any window after that. The Joydeco Zebra Blinds in Beige, 46″ W x 75″ H at $76.49 with a 4.4/5 rating across 1,424 reviews are the specific size most installation reviews reference.
Zebra Blinds vs. Blackout Shades: Which One Goes in Which Room
Same manufacturer. Same no-drill installation. Similar price. Completely different function. Buying the zebra blind for a bedroom where you need darkness is the most cited disappointment in the combined review data. This table makes the decision clear:
| Feature | Joydeco Zebra Blinds — $76.49 | Joydeco Blackout Shades — $67.22 |
|---|---|---|
| Light control | Light filtering — sheer to semi-private | Full blackout when fully lowered |
| Privacy | Adjustable via dual-layer positioning | Complete — no light transmission |
| Thermal insulation | Basic | Thermal-insulated fabric reduces heat transfer |
| Best rooms | Living room, kitchen, dining room, home office | Bedroom, nursery, home theater, shift workers |
| Aesthetic style | Layered, textured — reads as high-end | Clean, minimal, solid panel look |
| Cordless free-stop | Yes | Yes |
| No-drill install | Yes | Yes |
| Review base | 1,424 reviews, 4.4/5 | 124 reviews, 4.4/5 |
The zebra blind is the right choice for any room where you want natural light management without full darkness. The dual-layer design — alternating sheer and solid fabric on a single roll — gives you real flexibility in a single pull. One buyer put it precisely: “I love the dual-layer design. It’s so easy to switch between ‘sheer’ to let light in and ‘solid’ for full privacy.” Living rooms, kitchens, and home offices are natural fits. The look is also notably better than anything in the same price tier — layered fabric reads as custom to most people walking into the room.
For bedrooms, the calculus flips. Two separate verified buyers flagged the zebra blind for the same reason: “They are light filtering — they are not light blocking.” That’s accurate, and it’s working as designed. The sheer-solid layer system reduces glare significantly but morning sun still comes through. Light sleepers, anyone dealing with early sunrise, shift workers, and parents with babies in the room need the Joydeco blackout version — not the zebra. At $67.22, it’s actually $9 cheaper, and the thermal-insulated fabric also helps regulate room temperature in windows that run cold in winter or hot in summer.
The Achim Home Furnishings Cordless Light Filtering Roller Shade sits below both in the budget tier at $20 to $35. Single-layer fabric, spring recoil mechanism — no dual-layer control, no free-stop hold. It works for basic light filtering. But the moment you’ve operated a free-stop system and experienced it holding exactly where you leave it, going back to spring recoil feels like a downgrade. For the $40 to $50 price difference between Achim and Joydeco, the precision and the look make the jump worthwhile.
What No-Drill Blinds Actually Can’t Do
They won’t work on a frame that’s warped, rotted, or narrower than one inch. The bracket system needs solid, flat casing to grip. A compromised frame means the blind will slip or fall regardless of which product you buy. Fix the frame first — then install the blind.
They also can’t achieve true edge-to-edge blackout in every window configuration. Even the full blackout model can bleed light at the sides if the blind width doesn’t fully overlap the window frame. For a room that needs complete darkness — a nursery, a home theater, a shift worker’s bedroom — layer these shades with a ceiling-mounted curtain rod and heavyweight curtain panels on either side. That combination outperforms any single window covering at this price point by a significant margin.
The window treatment market is accelerating toward motorization. LEVOLOR and Blinds.com already offer no-drill motorized roller shades with Alexa and Google Home integration starting at $150 to $250. Within three to four years, app-controlled positioning will be standard in the $100 range. The cordless free-stop system you install now for $76 still works perfectly in that future — it’s the foundation smart motor upgrades will attach to, not something they’ll replace outright.
Disclaimer: The information on this page is for educational purposes only and does not constitute financial advice. Rates, terms, and eligibility requirements are subject to change. Always compare multiple lenders and consult a licensed financial advisor before borrowing.