
The Right Way to Protect Furniture During a DIY Makeover
Most DIY furniture projects fail before the first coat of paint dries. Not from bad technique — from skipped prep. One drop of paint stripper on an unprotected hardwood floor costs more to fix than the entire makeover. The solution isn’t complicated: a proper tarp, set up correctly, eliminates the problem before it starts.
Here’s the full setup workflow, and where the STARPYNG 7 Mil Camo Tarp (12×16 ft, $20.99) fits into each stage of it.
How to Set Up a Furniture Protection Zone Before Starting Any Project

This is where most people skip steps and then spend twice as long cleaning up afterward. Before you sand, strip, paint, or stain anything, you need a real containment zone — not an old bedsheet thrown over a chair and called covered.
Step 1: Clear the Area and Map What Needs Protecting
Move everything removable out of the room first. What stays needs to be covered completely, not just draped loosely. A tarp thrown haphazardly over furniture still lets paint mist drift underneath it during spray or brush application.
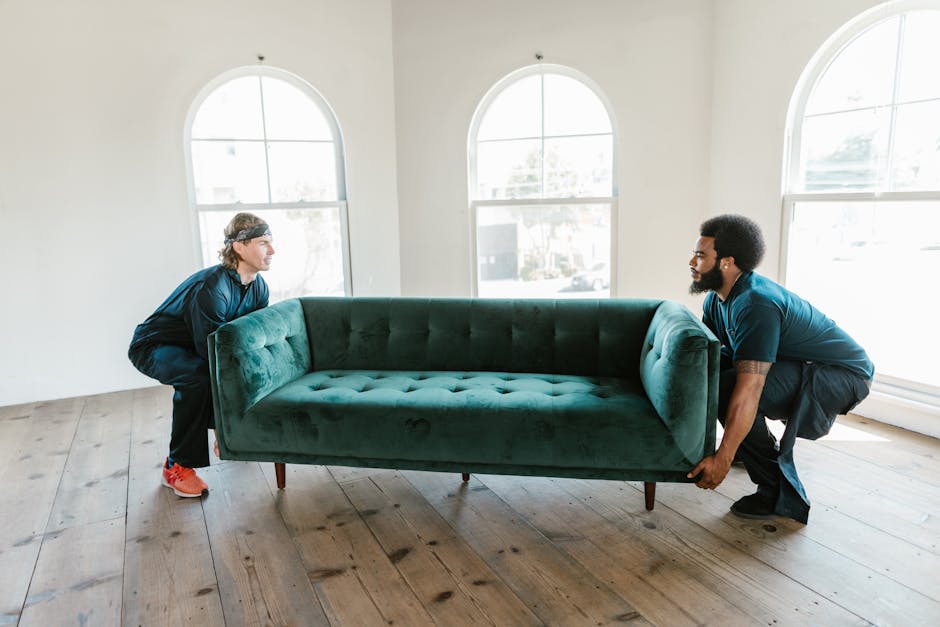
For a standard bedroom furniture makeover — dresser, nightstands, one bed frame — a single 12×16 ft tarp handles the floor easily. If you’re using a spray gun or airless sprayer, the splatter zone extends 3-4 feet further than you’d expect. Size up, or get a second tarp and overlap them at the center of the room.
Canvas drop cloths from Trimaco or the Harbor Freight canvas versions (around $12-18 for a 9×12) work well for direct furniture coverage during brush painting. They absorb splatter rather than letting it pool and slide. But for floor protection under heavy stripping or staining work, a waterproof poly tarp is better — it contains spills instead of soaking them through to the subfloor.
Step 2: Anchor It So It Doesn’t Move
A sliding tarp is worse than no tarp at all. The moment a chair leg catches the edge and bunches it up, the floor you were protecting is exposed. Use painter’s tape along the perimeter indoors — takes two minutes, prevents an hour of cleanup.
Outdoors, the reinforced grommets on the STARPYNG tarp let you stake it down or run bungee cords through for a tighter hold on a deck or patio surface. One verified reviewer wrote: “The grommets are well-placed and sturdy, making it easy to secure tightly without tearing or fraying.” That’s exactly the failure point on cheaper hardware store tarps — grommets that pull out at the seam after two uses.
Step 3: Layer for Different Risk Zones
Not every part of the room needs the same level of protection. Here’s the practical breakdown:
- Active work zone (directly under and around the piece you’re refinishing): full tarp coverage, secured edges, no gaps at corners
- Splash zone (1-2 feet around the work area): overlap with a secondary tarp or heavy plastic sheeting
- Traffic zone (where you walk): lay a canvas drop cloth on top of the poly tarp so you’re not slipping on a slick surface while carrying tools or a full paint tray
This three-zone layered setup takes 15 minutes to install. When the project’s done, roll the tarp inward toward the center and every drip, dust particle, and stray brush hair comes with it.
Step 4: Plan for Outdoor Curing Time
Most furniture finishes need to cure outdoors — lacquer, oil-based stain, and polyurethane all benefit from airflow. If you’re staging pieces on a patio or driveway while they dry, they need protection from rain and direct UV exposure during the curing window. UV-resistant tarps matter here. “The waterproof design has held up perfectly through rainstorms without any leaks,” one buyer confirmed. That’s the core job: keep moisture off a piece that’s mid-cure and vulnerable.
Tarp Size Guide: What 12×16 Feet Actually Covers
People consistently underestimate the real working footprint of a furniture project. Once you account for sawhorses, supply staging, walking room, and drying space, even a single dresser needs more than a 6×8 tarp. The table below is based on real project footprints. A 12×16 tarp covers 192 square feet — but furniture work doesn’t use floor space efficiently, and you need room to step back and assess your finish without standing on wet stain.
| Project Type | Minimum Tarp Size | Recommended | Key Consideration |
|---|---|---|---|
| Single dresser refinish (brush/roller) | 8×10 ft | 12×16 ft | Extra space for supply staging and sawhorse placement |
| Full bedroom set makeover | 12×16 ft | Two 12×16 tarps | Need room to rotate pieces during drying intervals |
| Outdoor spray paint job | 12×16 ft | 12×20 ft or larger | Spray drift extends 3-4 ft in still air |
| Patio set winter storage cover | 12×16 ft | 12×16 ft | Most 4-piece outdoor sets fit under one tarp |
| Workshop floor during power sanding | 12×16 ft | 12×16 ft | Single layer captures fine dust for easy roll-up disposal |
| Furniture transport wrap | 10×12 ft | 12×16 ft | Grommets allow secure bungee tie-down in truck beds |
The 12×16 size is the practical sweet spot for most single-room DIY projects. At $18.99 for the STARPYNG Blue 12×16 tarp, buying two isn’t a budget concern. For larger spaces, overlap two tarps by 18 inches at the seam and tape it down — that creates a near-waterproof joint without needing a custom size. “The size is perfect and gives us good coverage,” one verified buyer noted. Enough coverage that you stop worrying about gaps and just work.
Camo or Blue: The One Rule Worth Following
For outdoor applications — patio storage, vehicle covers, garden work — camo or neutral earth tones blend into surroundings and don’t visually clutter an outdoor space the way a bright color does. For indoor workshop use, a solid blue surface makes dropped screws, hinges, and small hardware easy to spot against the floor mid-project. A camo pattern does not. Both colors perform identically on waterproofing, UV resistance, and material strength. Pick based on where the tarp lives, not on branding.
Five DIY Jobs This Tarp Handles Better Than Single-Use Specialty Covers
Purpose-built patio furniture covers from brands like Classic Accessories run $40-80 and fit exactly one piece. A 12×16 poly tarp at $20 does all of this — and stores flat in a toolbox drawer when you’re done:
- Floor protection during power sanding — captures fine dust instead of letting it migrate into hardwood grain or grout lines. Canvas absorbs it; poly contains it so you can roll the whole thing up and dispose of the dust in one move. If you refinish furniture on a regular basis, a reusable floor tarp beats buying canvas drop cloths that saturate after a few sessions.
- Outdoor furniture winter storage — waterproof and UV-resistant, so the cover itself survives multiple seasons without cracking or fading. Classic Accessories and other dedicated cover brands charge $40-80 for equivalent square footage. One tarp handles a full 4-piece patio set, chairs included.
- Improvised spray booth backdrop — hang vertically from ceiling hooks using the grommets as attachment points. At 12 feet wide, it creates a spray barrier large enough to back a full dresser or armoire without overspray reaching stored vehicles or garage shelving. Takes 30 seconds to remove and fold away.
- Moving protection for flat-pack furniture — wrap IKEA or RTA pieces during truck transport and thread bungee cords through the grommets to lock everything in place. Prevents corner damage better than soft moving blankets on slick truck bed surfaces where everything shifts under braking.
- Refinishing work surface under sawhorses — lay it flat, set your sawhorses and workpiece above it, and work cleanly. Every drip lands on the tarp. Fold inward at the end and the whole mess disposes in one move.
“The material feels incredibly sturdy and well-made, providing excellent durability even in tough conditions,” one buyer noted. Seven mil is the threshold where a poly tarp stops feeling like a consumable. Standard hardware store tarps run 3-5 mil and split at the grommets after one heavy-use season. The extra few dollars for 7 mil pays off the moment you stop replacing tarps annually.
One honest caveat: if you’re covering sharp metal furniture legs or working near exposed screw heads, put cardboard scraps under those contact points first. Real user feedback is direct about it: “It didn’t take much pressure to cause a puncture.” Milk carton sides, cereal box cardboard, any scrap works. The point is creating a buffer between the poly and anything with a 90-degree edge under load. Thirty seconds of setup prevents the problem entirely.
The Sharp Edge Problem Nobody Warns You About
Every poly tarp will puncture against a sharp edge under direct pressure. Not just STARPYNG — the Husky contractor tarps from Home Depot have the same limitation, and so do the heavy-duty options at Harbor Freight at similar price points. Seven mil is about as thick as standard poly gets before you’re buying commercial debris containment material at three or four times the cost.
The fix: place cardboard scraps anywhere bare metal or sharp wood corners will press into the tarp under weight. Do this consistently and the tarp lasts through dozens of furniture projects. The buyers who report punctures skipped this step.
On the labeling: some buyers have found the STARPYNG packaging says “light duty” despite listings that market it otherwise. Go in with accurate expectations — this is a solid, general-purpose poly tarp suited for furniture makeovers, floor coverage, and seasonal outdoor storage. Not a heavy construction site tarp designed for sharp debris containment under industrial conditions. For every project on this site, the performance is more than adequate.
When a Drop Cloth Is the Better Tool for the Job
Brush Painting Furniture: Canvas Beats Poly Every Time
For any project where you’re applying paint with a brush or roller directly over the floor covering, canvas is the right call. Poly tarps let pooled paint slide when you step on them. Step on wet paint that’s shifted toward the floor edge and you’ve created a worse problem than the one you were preventing. Canvas absorbs splatter on contact, stays flat, and gives you immediate tactile feedback — you can feel if paint is building up underfoot before it becomes a hazard. The Trimaco 9×12 canvas drop cloth ($18-22 at most hardware stores) has been the indoor painting standard for decades for exactly this reason. Use it on top of a poly tarp: the tarp handles moisture containment beneath, the canvas gives you a stable, non-slip work surface on top.
Large Spray Jobs: Plastic Sheeting Wins on Square Footage
Three mil plastic sheeting from the roll (roughly $15 for a 10×25 ft section at Home Depot) covers significantly more area at lower cost for a one-time large spray project. The tradeoffs are real: no grommets, tears easily, and the moment you set a furniture leg down on it the entire sheet shifts. For a project where you’re moving pieces on and off the surface repeatedly, plastic sheeting becomes frustrating fast. For a single one-off spray job where raw coverage area matters most, it wins on cost. For repeated use — a regular workshop setup or seasonal storage routine — a reusable poly tarp pays back its cost within two or three sessions.
Does Tarp Thickness Actually Matter for Home Projects?
Yes. Three mil tarps develop micro-tears after one heavy session. Five mil holds up for a few projects before the grommets start pulling at the seams. Seven mil is where a tarp transitions from consumable to semi-permanent shop tool. At $20 for a tarp that survives three or four years of weekend furniture projects, the per-use cost drops to almost nothing. That’s the math that makes the spec worth caring about when you’re standing in the hardware aisle deciding between the $8 option and the $20 one.
You started this wanting to protect a piece of furniture from the mess of a makeover. Lay down a proper tarp before you open the first can. Anchor it. Pad the sharp corners. That’s the whole system — and it costs $20 to set up once and stop thinking about it.
Disclaimer: The information on this page is for educational purposes only and does not constitute financial advice. Rates, terms, and eligibility requirements are subject to change. Always compare multiple lenders and consult a licensed financial advisor before borrowing.