
How to Cut Pick-and-Pluck Foam for a Perfect Custom Case Insert
Most people ruin their first pick-and-pluck foam insert within five minutes of opening the box. Not because the process is complicated — because they skip the one planning step that separates a professional-looking result from a lumpy, lopsided mess of half-torn cubes.
I’ve customized foam for pistols, mirrorless camera bodies, oscilloscope probes, and a set of antique woodworking chisels. The technique is the same every time. Here’s what actually works.
Why Pick-and-Pluck Foam Beats Pre-Cut Inserts for Most DIYers
Pre-cut foam inserts look great in product photos. In real life, your gear never quite matches the factory cutouts. A standard Glock 19 fits fine. A Glock 19 with a red dot optic and an extended magazine? The lid won’t close.
Pick-and-pluck foam — sometimes called egg-crate foam or grid-perforated foam — solves this by giving you a matrix of small cubes scored along a uniform grid. You remove only the cubes that fall within your item’s outline, and the remaining cubes grip the shape from every side. It’s the only foam system where someone without specialty cutting tools can achieve a genuinely custom, snug fit on the first try.
The PINGMIC 16×12×2 inch pick-and-pluck foam sheets come in a 3+3 pack — three pick-and-pluck top layers and three solid base layers — for $23.99. That’s enough material for a full-size pistol case with multiple accessories, or two separate compact cases, with foam left over if you make a mistake. Per square inch of coverage, it’s significantly cheaper than buying dedicated pre-cut inserts for specific firearms or cameras.
The main alternative is Kaizen foam — a solid, dense sheet you cut with a utility knife or foam cutter. Kaizen produces cleaner, sharper-edged cavities and looks more professional when done right. But it demands a steady hand, a proper cutting tool, and no mistakes, because there’s no fixing a bad cut. Pick-and-pluck is more forgiving, faster, and better suited to irregular shapes like pistols with mounted accessories or camera bodies with protruding dials.
What the 0.5-Inch Grid Spacing Actually Means for Your Build
The PINGMIC foam uses a half-inch grid pattern. Each cube you remove opens up roughly 0.5 inches of width or length in the cavity. That resolution works perfectly for items larger than 2 inches in any dimension. For tiny components — a single AAA battery, a small lens cap, a watch crown — the grid is too coarse for a precise fit. Those items are better held with solid foam and a knife cut, or just tucked into a small mesh pouch on top of the foam layer.
Does 2 Inches of Depth Cover Most Firearms and Cameras?
Yes, for the majority of handguns and compact camera bodies. A full-size 1911 sits cleanly at 1.75 inches deep. A Sony A7 body without a lens needs about 2.2 inches. The PINGMIC system handles this through the base layer — stack more or fewer base sheets underneath the top layer to dial in the exact depth you need. A mirrorless body with a grip attached will likely need the full 2-inch top layer plus a half-inch base underneath for the case to close comfortably.
How to Measure and Plan Your Foam Layout Before You Pull a Single Cube
This is the section that determines whether your finished insert looks intentional or improvised. Skipping it is the single most common reason first-time foam builds end up uneven.
The planning method: trace every item you’re packing onto ordinary printer paper, cut out the silhouettes, and use those paper templates to test arrangements on the foam sheet before committing to anything. It sounds slow. It takes about fifteen minutes and saves you from pulling the wrong cubes and having no way to put them back.
Step-by-Step Layout Planning Process
- Measure the usable interior foam area of your case — not the case’s outer dimensions. Latches, hinge hardware, and lid channels all reduce the actual foam footprint, sometimes by an inch or more on each side.
- Lay each item flat on paper and trace the full outline with a marker. Include any accessories that stay attached: mounted lights, suppressors, optics, lens hoods.
- Cut out each paper silhouette. These are your templates.
- Arrange the templates on the foam sheet, moving them until everything fits with at least a half-inch buffer zone between items. That buffer keeps adjacent foam walls thick enough to actually support and separate the items.
- Once the arrangement is finalized, trace each template directly onto the foam with a fine-tip marker. Mark the outlines clearly — you’ll be working cube by cube inside those lines.
- Identify which grid squares fall entirely inside each outline. Those are the cubes to remove. Cubes that straddle a line stay in unless you need the extra clearance.
How to Handle Irregular Shapes Like Rail-Mounted Accessories
Firearms with underbarrel lights, angled grips, or suppressor threads are harder to template with a flat paper trace because the 3D profile matters as much as the 2D footprint. A useful trick: press modeling clay or a piece of craft foam against the most complex side of the item to get an impression of the protruding geometry, then use that impression to identify additional cubes that need to come out on the sides and underside of the cavity.
For a Glock 17 with no attachments, you’ll typically remove 24–28 cubes. Add a Streamlight TLR-1 light and you need another 10–12 cubes along the rail section. Mapping this on paper first costs you fifteen minutes. Pulling the wrong cubes and leaving gaps in your foam walls costs you the whole sheet.
Top Layer vs. Base Layer: Don’t Cut Into the Base Unless You Have a Reason
The solid base sheets in the PINGMIC pack exist to give the case floor structure and padding. Keep them intact. Your custom cutout work happens entirely in the pick-and-pluck top layer. The only reason to modify a base sheet is if you need significantly more depth — in which case, remove the base sheet entirely and let the item sit lower in the case, rather than cutting channels into it.
The Pulling Technique Most First-Timers Get Wrong
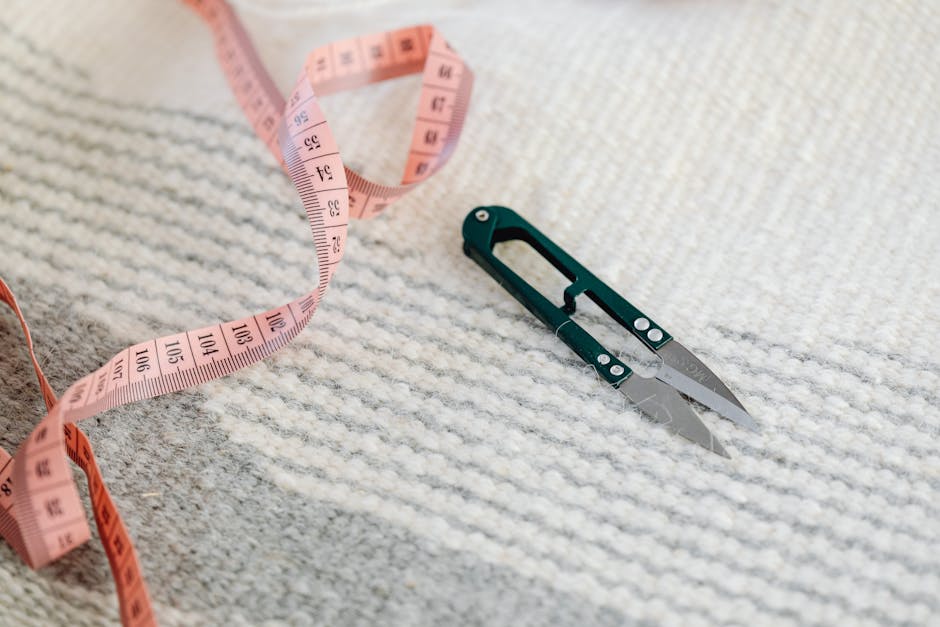
Yanking. When you grab a cube and pull straight up with force, the perforations between cubes tear unevenly and leave ragged, shredded walls. The fix is simple: grip the cube between thumb and index finger, rock it side to side twice to break the perforations evenly on all four sides, then lift straight up. That’s it. Every cube, every time. Takes about three seconds per cube and the difference in wall quality is immediately visible.
If the foam batch has tight perforations — which varies — score lightly along the grid lines with a craft knife or box cutter before pulling. One shallow pass per line is enough. Don’t cut all the way through; you’re just weakening the bond so the cubes release cleanly.
PINGMIC vs. Other Foam Options: A Straightforward Comparison
| Product | Sheet Size | Price | Pack Contents | Grid | Best Use Case |
|---|---|---|---|---|---|
| PINGMIC 3+3 Pack | 16×12×2 in | $23.99 | 3 top + 3 base | 0.5 in | Multi-item cases, first-timers |
| Generic 2-sheet foam (Amazon) | 14×11×1.5 in | $16–22 | 1 top + 1 base | 0.5–0.75 in | Single item, low-stakes storage |
| Pelican TrekPak System | Case-specific | $45–85 | Divider panels | N/A | Pelican 1510 / 1520 owners |
| Harbor Freight Apache 4800 foam | Fits Apache cases | $10–15 | 1 top + 1 base | 0.5 in | Budget single-item build |
| Kaizen Foam Sheet (solid) | 12×18 in typical | $20–35 | Single solid sheet | No grid | Precision cuts, tool storage |
My verdict for first-time DIYers: the PINGMIC 3+3 pack wins outright. Six sheets for $23.99 gives you room to redo a mistake without ordering more foam. Generic two-sheet packs don’t. The Pelican TrekPak system is excellent but only makes sense if you already own a Pelican case and want a truly professional result — at $45–85, it costs more than most budget hard cases. Apache foam is fine for the Harbor Freight case it’s sold for, but the thinner sheets and looser grid make precise multi-item layouts harder to control.
Five Uses for Custom Foam Inserts Beyond Firearms
Pick-and-pluck foam works for anything fragile, expensive, or awkwardly shaped. These are the five non-firearm applications I’ve seen deliver the most value:
- Mirrorless and DSLR camera systems — A Sony A7 III body with a 24–70mm f/2.8 mounted fits in a 16×12 sheet with space for a spare battery and SD card holder. Photographers using Pelican 1510 carry-ons do this instead of buying camera-specific cases, and save $60–120 in the process.
- Drone components — DJI Mini 3 and Air 3 bodies fit with room for two spare batteries, a set of spare propellers, and a charging cable. The foam handles the angular arm geometry cleanly — something pre-cut drone cases often fail at.
- Precision hand tools — Calipers, Starrett scribes, gauge blocks, and similar measuring tools benefit enormously from foam storage. Contact with other metal tools causes wear and miscalibration over time. A foam-lined case eliminates that.
- Electronics and test equipment — Fluke multimeters, oscilloscope probes, small soldering irons, and SDR dongles. If it’s something you’d be frustrated to replace, it belongs in a foam-lined case.
- Jewelry, watches, and collectibles — The PINGMIC foam doesn’t off-gas significantly, so it’s safe for most metals in short- to medium-term storage. Coin collectors and watch enthusiasts use pick-and-pluck foam to build custom trays that hold items at a slight angle for display.
At $23.99 for six sheets, the cost of doing a camera or tool case is roughly $8–10 worth of foam. A dedicated camera insert from Lowepro or Think Tank costs $25–45 and only fits one specific body configuration. Custom beats generic here on both flexibility and price.
Cleaning Your Gear Before It Goes Into the Case
Why does cleaning matter for foam storage specifically?
Foam is porous. Carbon residue, gun oil, cutting fluid, and moisture from stored items migrate into the foam over time. That contamination attracts dust, causes odor, and in the case of petroleum-based lubricants, can slowly degrade certain foam materials. Cleaning gear before storage isn’t only about the gear — it extends the life of the foam insert itself.
What’s the fastest way to clean a barrel before packing?
Bore patches and cotton swabs. Nothing elaborate. The PINGMIC gun cleaning set — 200 three-inch patches and 300 pointed cotton swabs for $11.99 — is the kind of boring consumable that’s worth buying in bulk. The 4.8/5 rating across 3,223 reviews is unusually consistent for a cleaning supply; that’s not a statistical fluke. The 6-inch pointed swabs reach into trigger groups and action channels that bore patches can’t access, while the lint-free cloth handles the exterior wipe-down without leaving fibers behind.
Should firearms be oiled before going into foam storage?
Light oil only — and wipe off any visible excess before packing. Foam traps moisture, which is the opposite of what bare metal needs during storage. For anything stored longer than a few weeks, use a silicone-based rust inhibitor instead of standard CLP. Check the foam every few months for discoloration or stiffness in the contact areas; that’s a sign oil is migrating and the foam needs to be wiped down or replaced.
Which Setup Is Right for Your Situation?
- Single handgun, no accessories — One top + one base PINGMIC sheet. Pull roughly 25 cubes, done in under 20 minutes. Uses about $8 worth of foam from the pack.
- Handgun + magazines + cleaning supplies — Two top sheets side by side. One section for the pistol, one for accessories. The 3+3 pack handles this configuration with sheets to spare.
- Camera body + two lenses — Full 16×12 top sheet. Budget 45–60 minutes for planning and pulling. Use a solid base sheet underneath for depth control.
- Multi-item case (Pelican 1510 or Apache 4800) — Plan on using most of the pack across one or two configurations. Paper templates are mandatory here, not optional.
- Craft and hobby tools — Any rigid case with interior dimensions under 16×12 inches works. The PINGMIC foam trims cleanly with scissors if you need to fit a smaller case footprint.
Pick-and-pluck foam is one of the few DIY skills where the result genuinely looks custom-made — because it is. Twenty-four dollars and an hour of careful planning produces an insert fitted to your exact gear, not someone else’s idea of what a standard loadout looks like.
Disclaimer: The information on this page is for educational purposes only and does not constitute financial advice. Rates, terms, and eligibility requirements are subject to change. Always compare multiple lenders and consult a licensed financial advisor before borrowing.

