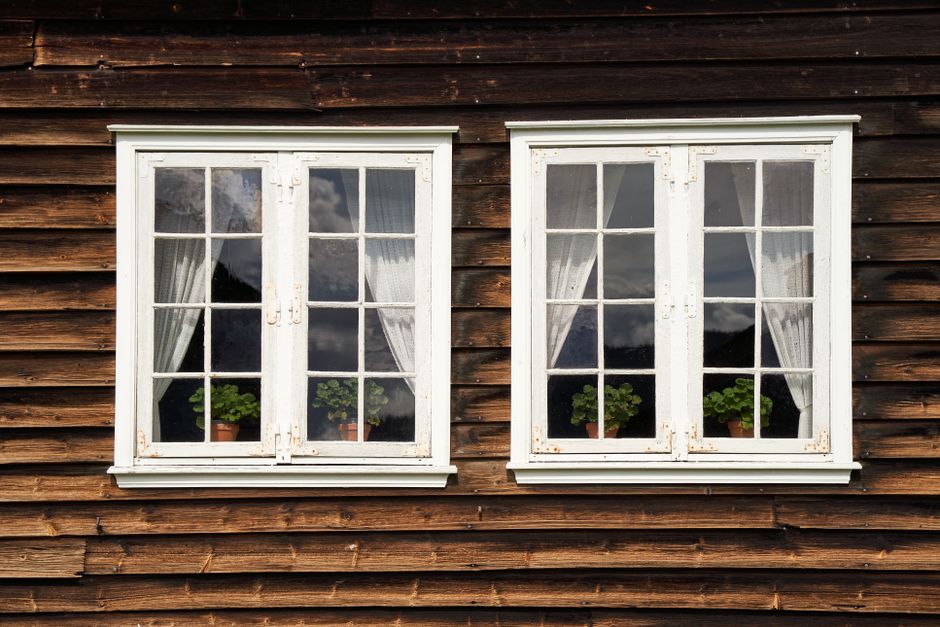
Cold air entering around a window or door can make a heated room feel uncomfortable and push up energy use. A careful weekend job usually costs less than replacing windows, but only if you find the leak first and use the right seal for the gap.
Why draught-proofing works better than adding more heat
Find the pressure leak, not just the cold surface
Draught-proofing works by stopping uncontrolled air movement through gaps around moving parts, frames, letterboxes and thresholds. It does not make single glazing perform like modern double glazing. It does stop a stream of cold air from washing across the floor or blowing onto a sofa.
Start with the hand test. On a windy day, move the back of your hand around the closed window sash, hinges, lock side, door threshold and frame joints. A thin strip of tissue paper gives a clearer result: if it moves without touching the frame, air is getting through. Mark each leak with removable tape.
Match the seal to the gap
A seal that is too thin leaves a leak. One that is too thick can stop a window from closing, distort the frame or overload the hinges. Measure the gap with a plastic feeler gauge, folded card or a set of drill bits. Use the smallest object that fills the gap without forcing the sash or door.
For gaps under 1 mm, brush pile or a thin rubber strip usually works. Gaps around 1–3.5 mm suit a flexible E-profile seal such as the tesa Moll E-Profile, often sold in 6 m rolls for about £10–£15. Larger gaps need adjustment, a wider compression seal or repair work.
Control moisture and ventilation
Do not seal every opening in a room. Keep trickle vents open, never block air vents serving a boiler or gas appliance, and keep extractor fans usable. Good draught-proofing reduces unwanted airflow; it does not replace planned ventilation. Condensation on glass, black mould around corners or a persistent damp smell points to a moisture problem that tape alone will not solve.
Verdict: draught-proofing is the best first step for leaky, serviceable windows and doors. It is poor value when the frame is rotten, badly warped or unsafe.
What to inspect before buying any sealing tape
Check the window movement
Open and close every window slowly. Look for rubbing at the top corner, a handle that needs force, loose hinges and a sash that drops when released. Clean dirt from the frame and check the locking points. A dirty or misaligned window can look like a seal failure, but adding thicker tape only makes the problem worse.
Inspect the putty, glazing bead and frame corners. Cracked putty around old glass, open mitre joints and rotten timber need repair before sealing. For uPVC windows, check the rubber gasket. If it has shrunk, split or pulled away from the corner, replacement gasket may work better than self-adhesive foam.
Check the door as a complete system
Close the door on a sheet of paper. If the paper slides out easily at several points, the compression is weak. Check the hinge side, lock side, head and bottom edge separately. A door may need a different solution on each side: a rubber seal on the frame, a brush strip below the door and a cover plate for the letterbox.
Do not buy a full roll before testing a short section. Apply a 150 mm sample, close the door and leave it for ten minutes. If the lock becomes hard to turn or the door springs open, the seal is too thick. Verdict: inspect and measure first; the cheapest successful job starts with a pencil, tissue and ruler, not a large multipack.
How to fit window and door seals in one afternoon
Prepare the surface properly
Remove old tape with a plastic scraper. Wash the frame with warm water and a small amount of washing-up liquid, then dry it fully. Wipe the bonding area with isopropyl alcohol if the frame manufacturer allows it. Do not apply adhesive over dust, condensation, flaking paint or oily polish. Mark the top and hinge side with a pencil so the seal follows the correct path.
Cut the seal into straight lengths rather than wrapping one piece around every corner. Leave a tiny gap at the ends so the material does not bunch up. Peel back only 100–150 mm of backing at a time. Press the seal firmly along the frame with a rounded tool or clean thumb. Do not stretch rubber or foam while fitting; it will shrink back and open a gap at the corner.
Test the closing pressure
Close the window or door immediately after fitting each side. The handle should turn with normal force, and the lock should engage without lifting or slamming. Repeat the tissue test around the repaired area. If the sash will not close, remove the seal and use a thinner profile. If the leak remains, test the glass, frame joint and threshold instead of adding another layer.
For a door brush strip, hold it against the closed door, mark the screw positions, drill pilot holes and set the bristles to touch the threshold lightly. They should not drag hard across the floor. Verdict: clean fitting and correct compression matter more than the brand on the packet.
Five weekend mistakes that waste money
What not to seal
- Do not cover trickle vents, air bricks or vents serving combustion appliances.
- Do not seal a window shut if it is an important escape route from a bedroom.
- Do not tape across a rotten frame and call the leak fixed. Repair or replace damaged timber first.
- Do not use bathroom silicone on a moving window sash. It can glue parts together and makes later repairs difficult.
- Do not fit thick foam around a door before checking the hinges and strike plate. A sagging door may need adjustment, not extra padding.
When the cheap fix is the wrong fix
Skip self-adhesive tape when the gap changes from almost closed to more than 6 mm. It will compress in one place and fail in another. Use a proper replacement gasket, a rebated timber repair or a professional adjustment instead. Skip window film on a window that must open every day, because removing and refitting it quickly becomes a nuisance.
Also avoid buying a bulk pack because the unit price looks low. A £25 pack that leaves half the material unused costs more than a £10 roll that matches the measured job. Verdict: the biggest saving comes from refusing the wrong repair, not from choosing the lowest shelf price.
Questions to answer before you finish the job

Will draught-proofing stop condensation?
It can reduce cold airflow, but it cannot guarantee dry glass. Condensation forms when moist indoor air meets a cold surface. Cook with lids on, use the extractor fan, dry wet laundry with ventilation and keep furniture slightly away from cold external walls. If water keeps collecting between double-glazed panes, the sealed unit has failed and tape will not restore it.
Should I seal internal doors?
Usually no, unless the door separates a heated room from an unheated hall, porch or garage. Internal doors need a small amount of airflow for comfort and ventilation. Seal the external door first, then check the room temperature and tissue test before touching internal doors.
When should I stop DIY work?
Stop if you find rotten timber, cracked glass, a loose frame, a door that will not lock, or a boiler-room vent that appears to be part of the leak. A qualified window or building professional is cheaper than creating a security, fire or ventilation problem. Verdict: DIY sealing suits sound frames with measurable gaps; structural faults need a different fix.
What a sensible weekend budget looks like
Spend by priority
For one front door and four ordinary windows, allow £35–£70 for materials: one rubber seal roll at £10–£15, one foam roll at £5–£9, a 914 mm brush strip at £8–£16, cleaning supplies at £5–£10 and replacement screws or small tools at £5–£20. Start with the room that feels coldest, then use the remaining material on confirmed leaks. That approach gives a better result than spreading tape thinly across the whole house.
Do not borrow for a small job if you can avoid it. If someone finances a £100 repair on a card charging 24.9% APR, a £0 fee does not make the borrowing cheap. A personal loan may advertise rates from roughly 7.9% to 29.9% APR, with arrangement fees ranging from £0 to £195, but the actual rate depends on the lender and borrower. These figures are examples for budgeting, not a current offer or promise of approval. This is not financial advice.
The final decision
For sound timber or uPVC frames, buy the seal that matches the measured gap, fit it to a clean surface and test every moving part before moving on. For a cold fixed pane, use window film. For an uneven door bottom, choose a brush strip. For rotten, warped or unsafe frames, spend the money on repair rather than masking the defect.
Final recommendation: reserve one Saturday, budget about £50, begin with a tissue-and-ruler inspection, and use a flexible rubber seal for confirmed 1–3.5 mm gaps. That is the most reliable balance of cost, comfort and repair life for a typical draughty home.