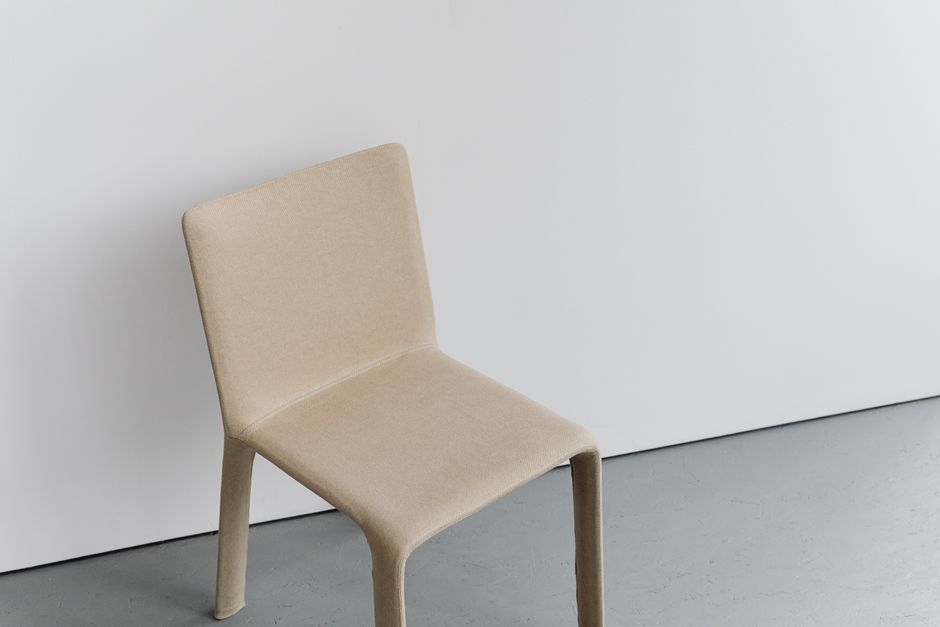
You do not need sewing skills to reupholster most dining chair seats. The seat usually lifts from the frame, the old fabric comes off, and new material gets pulled over the padding and stapled underneath. The hard part is not the staple gun. It is measuring correctly, checking the wood base, and keeping the fabric tight without creating crooked corners.
This method works for a removable square or rectangular seat with a flat plywood or solid-wood base. It does not cover molded plastic seats, curved upholstered backs, or chairs with damaged structural joints. For a first project, one dining chair is the sensible test run.
Which Tools and Materials Should a Beginner Buy?
My strong recommendation is to buy a small, controlled tool set instead of a large upholstery kit filled with tools you will never use. The job needs clean cuts, measured tension, and staples that do not punch through the seat.
Start with these five items
- Fabric scissors: Fiskars Amplify RazorEdge 8-inch scissors are designed for thick layers and give a cleaner cut than ordinary paper scissors.
- Staple gun: The Arrow T50 is a practical beginner choice. Use 1/4-inch or 5/16-inch staples for a plywood seat. Its compatible T50 staples are available in 6mm, 8mm, 10mm, 12mm, and 14mm lengths; 8mm is the safest starting size for a thin base.
- Measuring tape: A Dritz 60-inch tape measure is flexible enough to follow foam thickness and fabric drops.
- Flat screwdriver: Use a narrow blade to lift old staples. Wear eye protection because broken staples can jump.
- Fabric or upholstery marker: Mark the wrong side of the fabric, the front edge, and the center points before cutting.
Choose fabric for abrasion, not just color
Dining seats take repeated sliding, spills, and body weight. A medium-weight upholstery fabric with a tight weave is a better first choice than loose linen, delicate velvet, or thin quilting cotton. Look for a fabric rated around 15,000 double rubs or higher if the manufacturer provides an abrasion figure. Dark, small-scale patterns hide beginner mistakes better than a large geometric print.
Know what the materials cannot fix
New fabric will not repair a cracked base, loose chair joint, moldy foam, or seat that flexes heavily when pressed. Replace foam that smells sour, crumbles when squeezed, or has compressed more than half its original thickness. If the wood is split around the screw holes, repair the base before adding upholstery. The Arrow T50 is useful, but no staple gun can make a weak chair safe.
Do not put the entire project on a store card just because the checkout screen offers deferred interest. Tool and home-improvement cards often advertise 0% for 6 to 12 months, then revert to roughly 29.99% to 34.99% APR; late fees can reach $41. For one chair, cash budgeting is the better deal. This is not financial advice.
How Do You Cut and Position New Upholstery Fabric?
Cutting is where beginners lose the most money. The safest approach is to use the seat dimensions, then make a paper or old-fabric layout before cutting the new material.
How should the fabric face the chair?
Place the fabric face down on a clean floor or table. Put the seat base on top with the cushion side facing down. Find the center of each fabric edge and mark it with chalk. Mark the center of the front, back, left, and right edges of the seat base. Match those marks before you staple anything.
How do you keep the fabric straight?
For stripes, line the dominant stripe with the front edge of the seat. For a repeating print, find the visual center and keep it aligned with the seat center. Pull the fabric over the front edge and place one temporary staple at the center. Add one staple at the back, then one on each side. Check the pattern before adding more staples.
Work outward from the center in short sections. Leave the corners loose. If you staple all the way around before checking the top, you may lock in a wrinkle that requires removing half the staples. Keep the fabric firm, not stretched like a drum. Excess tension can distort a printed pattern and make the fabric split at the corners.
Batting should extend slightly beyond the foam but should not form thick ridges under the fabric. Trim it after the main sides are secure. If the foam has a sharp square edge, round it lightly with scissors so the finished seat has a softer profile.
Best beginner choice: Use a plain or small-pattern upholstery fabric and align only the major visual center. A large repeat can look expensive but demands more fabric, more planning, and more chances for a crooked result.
How Do You Staple the Seat Without Wrinkles?
Pull the fabric evenly, then staple in a cross pattern. Starting at one corner usually creates a diagonal wrinkle across the seat. A center-first pattern gives you control over tension and makes correction possible.
Follow this staple order
- Place one staple at the center of the front edge.
- Place one staple at the center of the back edge while keeping the fabric straight.
- Add one staple at the center of each side.
- Move 2 to 3 inches away from each center staple and alternate opposite sides.
- Stop when you are about 3 inches from every corner.
- Turn the seat over and inspect the top after every few staples.
Fold the corners like a small box
At each corner, pull the fabric toward the center of the underside and make one neat fold. Trim bulky excess, but leave enough material to cover the wood. A single clean pleat is easier to control than several small folds. If the fabric bunches on the top, remove the last two or three staples and reset the tension; do not keep adding staples to hide the problem.
The Arrow T50 works well for this light upholstery job because it accepts short T50 staples and gives enough force for plywood. For a hard oak base or repeated furniture projects, an electric model such as the DEWALT DWHTTR350 may reduce hand strain, but it also makes it easier to drive a staple too far. Beginners should favor control over speed.
Protect the finished fabric
Vacuum loose fibers and inspect every edge. A staple that sits high can scratch a floor or catch clothing. If you want stain protection, 3M Scotchgard Fabric Water Shield is sold in a 10.5-ounce aerosol size, but test any protector on a hidden fabric area first. It can alter the hand or color of some textiles.
Bottom Line: Center staples, opposite-side tension, and loose corners produce a cleaner seat than fast stapling. The tool matters less than the order of operations.
Should You Reupholster, Replace, or Leave the Chair Alone?

Reupholstering is the right move when the chair frame is solid, the seat shape still suits the room, and the fabric is the main problem. It is not automatically the cheapest choice. A single seat can consume an afternoon, and a set of six chairs multiplies every mistake.
Use this decision check
| Chair condition | Best choice | Reason |
|---|---|---|
| Solid frame, flat base, worn fabric | Reupholster | Low structural risk and visible cosmetic gain |
| Good frame, flattened foam | Replace foam and fabric | New fabric alone will not restore comfort |
| Loose joints or cracked legs | Repair before upholstery | Safety problem comes before appearance |
| Thin, split, or warped seat base | Replace the base or chair | Staples will not hold reliably |
| Six matching chairs with complex patterns | Use a professional upholsterer | Pattern alignment can erase DIY savings |
When should you stop the project?
Stop if the chair rocks after tightening the visible screws, if the wood smells damp or moldy, or if the foam breaks apart in your hands. Also stop if the finished height would change enough to make the chair uncomfortable at the table. Adding thick foam can raise the seat by 1 inch or more, which affects legroom and posture.
For one ordinary dining chair, the best value is usually a plain durable fabric, fresh batting, and a sound existing cushion. The best tool purchase is the Arrow T50 with 8mm staples; the best upgrade is new foam when the old cushion has collapsed. A premium electric stapler is hard to justify for one repair.
Bottom Line: Reupholster the chair when its structure is worth keeping. Repair the frame first, replace foam when it has failed, and replace the whole chair when the base or joints make the project a safety gamble.
That brings the project back to the chair sitting upside down on the towel. If the frame is firm, the base is flat, and the new fabric has enough allowance to wrap underneath, the job is no longer a vague decorating project. It is a measured repair: remove, inspect, cut, center, staple, and reinstall.