
Did you know the average American household spends over $3,000 annually on their pets? A significant chunk goes to essentials like food, vet visits, and yes, litter. When every dollar counts for home improvements and furniture makeovers, smart spending on pet care isn’t just a nicety; it’s a financial strategy. You can upgrade your home, manage your budget, and still keep your furry friends happy without breaking the bank. It’s about making deliberate choices.
The Only Self-Cleaning Litter Box Worth Your Money
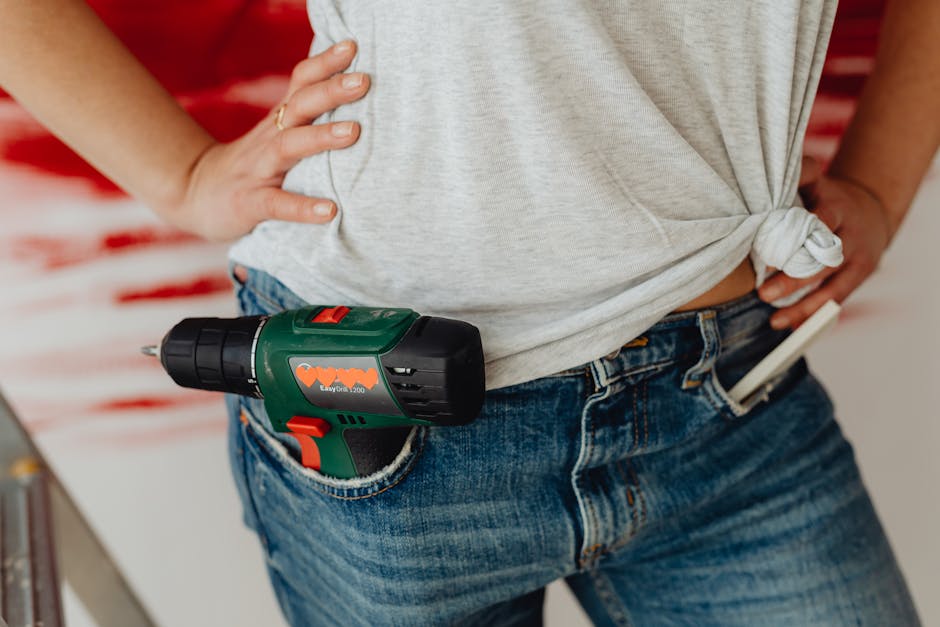
Let’s be blunt: most self-cleaning litter boxes are a gimmick. They jam, they smell, or they scare your cat into rebellion. You end up scooping anyway, feeling ripped off. The Neakasa M1 Plus Open-Top Self-Cleaning Cat Litter Box isn’t one of them. This is the unit you buy when you’re tired of wasting time and money on lesser options. It’s not cheap at $399.99, but with a 4.0/5 rating from over 3,200 reviews, it earns its keep.
Unpacking the 360° Safety Sensors and Odor Control
Safety is non-negotiable, especially with automatic pet devices. The Neakasa M1 Plus uses a comprehensive 360° safety sensor system. This isn’t just a single infrared beam; it’s a multi-point detection grid that ensures your cat is never in danger during the cleaning cycle. If a cat approaches or enters, the cycle pauses immediately. No surprises, no trapped paws. This level of protection puts it ahead of most competitors, which often rely on simpler, less robust systems. For multi-cat homes or those with larger breeds, this peace of mind is invaluable.
Odor control is where many devices fail spectacularly. The M1 Plus tackles this head-on with an advanced system that actually works. It doesn’t just scoop; it seals. The waste compartment is designed to minimize exposure, and the unit integrates active odor management, often via a deodorizing module or tightly sealed waste bags. This means fewer lingering smells, a cleaner home environment, and less overall litter tracking. It’s a genuine improvement over daily scooping, which, let’s be honest, rarely eliminates odors completely anyway. For an apartment dweller or anyone sensitive to pet smells, this feature alone justifies the investment.
Real Savings: Beyond the Initial Price Tag
Think about the time you spend scooping. Ten minutes a day? That’s over an hour a week. Multiply that by your hourly wage. The M1 Plus buys you that time back. More importantly, it can reduce litter consumption. Traditional boxes often require more frequent full litter changes because of incomplete scooping or lingering odors. An efficient self-cleaning box extends the life of your litter, meaning fewer trips to the pet store and less money spent on bags of clay. Over a year, these small savings compound. Factor in the reduced need for expensive air fresheners or professional carpet cleaning due to accidents, and the $399.99 price tag starts looking like an investment, not an expense. This isn’t just convenience; it’s smart financial management for pet owners.
Smart Financial Moves for Savvy DIYers
You want to upgrade your home, not accrue crippling debt. Smart DIY finance isn’t about finding hidden caches of cash; it’s about disciplined planning. Every home improvement project, big or small, impacts your budget. Approach it like a business: minimize overhead, maximize return.
Strategic Allocation of Project Funds
Don’t just eyeball your renovation budget. Break it down. Create a line-item budget for every single component: materials, tools, permits, unexpected contingencies (always add 10-15% for these). For example, if you’re refinishing kitchen cabinets, itemize sandpaper, primer, paint, new hardware, painter’s tape, and drop cloths. Don’t forget the cost of your own time if you’re taking days off work. Once you have a detailed budget, stick to it. If you find a fantastic deal on a tool like a orbital sander for a furniture makeover, factor that into your tool budget, but don’t blow past your overall limit. Financial discipline here saves you headaches later. Know where every dollar is going before it leaves your wallet.
DIY Debt: How to Avoid the Trap
It’s easy to get carried away. One project leads to another, and suddenly your credit card balance is climbing. Avoid high-interest debt at all costs. If you can’t pay cash, consider a low-interest personal loan or a home equity line of credit (HELOC) for larger, value-adding renovations, but only if you have a clear repayment plan. For smaller projects, a 0% APR credit card can work, but you MUST pay it off before the promotional period ends. Otherwise, you’re hit with retroactive interest, which negates any savings from DIY. Never start a project you can’t realistically finish and pay for. That unfinished bathroom isn’t just an eyesore; it’s a financial black hole if you’re paying interest on its incomplete components.
Mastering Furniture Makeovers: Beyond a Fresh Coat of Paint

Anyone can slap paint on an old dresser. A true furniture makeover transforms a piece, giving it new life and often increasing its value. This isn’t just about aesthetics; it’s about sustainability and smart spending. Why buy new when you can revitalize? It requires patience, the right tools, and a clear vision. The goal is to create something unique, durable, and truly yours.
Essential Tools for a Professional Finish
You need more than just a paintbrush. For serious furniture makeovers, invest in quality tools. A good electric sander (orbital or random orbit) is non-negotiable for stripping old finishes and smoothing surfaces. Brands like DeWalt or Bosch make reliable models that last. You’ll need various grits of sandpaper, from coarse (60-80 grit) for removal to fine (220-320 grit) for final smoothing. Quality brushes like Wooster or Purdy are essential for a streak-free paint job. Don’t skimp on primer; Zinsser B-I-N Shellac-Base Primer is a game-changer for blocking stains and odors. For intricate details, a Dremel tool with sanding and polishing attachments can be invaluable. A reliable heat gun helps remove stubborn paint layers faster than chemicals. These aren’t one-time purchases; they’re investments in countless future projects.
Choosing Materials: Paint, Stain, and Fabric
Your material choices dictate the final outcome. For paint, consider milk paint for a rustic, matte finish or chalk paint for easy distressing. Benjamin Moore or Sherwin-Williams offer durable, low-VOC options for a more modern look. Always use a topcoat or sealer for protection, especially on high-traffic pieces. If you’re staining, test on an inconspicuous area first. Varathane and Minwax offer a wide range of stain colors, but the preparation is key: proper sanding and wood conditioning ensure even absorption. For upholstery projects, select durable fabrics appropriate for the piece’s use. Sunbrella fabrics are excellent for outdoor pieces, while velvet or linen can elevate an indoor accent chair. Don’t just pick based on color; consider weave, durability (rub count), and ease of cleaning. These details differentiate a quick fix from a lasting transformation.
Neakasa M1 Plus vs. M1 Plus Lite: Which Self-Cleaning Litter Box is Right?
Neakasa offers two excellent self-cleaning litter boxes, the M1 Plus and the Neakasa M1 Plus Lite. Both deliver on the promise of automatic waste management, but they cater to slightly different needs and budgets. Understanding the distinctions is crucial before you commit. You need to know what you’re paying for.
| Feature | Neakasa M1 Plus | Neakasa M1 Plus Lite |
|---|---|---|
| Price | $399.99 | $322.49 |
| Rating (Out of 5) | 4.0 (3275 reviews) | 4.1 (546 reviews) |
| Safety Sensors | 360° Advanced Multi-Sensor | Upgraded Safety Protection |
| Odor Control | Advanced Odor & Leak Control | Odor Control |
| Connectivity | Automatic for Large & Multi-Cat | APP Control |
| Included Accessories | Litter Mat & 2 Rolls Refill Bags | 1 Roll Waste Bag |
| Cat Size/Weight | Large & Multi-Cat Homes | Standard (Implied) |
Key Feature Differences Explored
The M1 Plus, as its name suggests, is the premium model. Its 360° advanced multi-sensor system offers superior pet detection, a critical factor for peace of mind, especially with energetic cats or multiple pets. The “Advanced Odor & Leak Control” isn’t just marketing fluff; it often implies better sealing mechanisms or integrated deodorizers compared to the ‘Lite’ version’s simpler “Odor Control.” The M1 Plus also comes with a litter mat and two rolls of refill bags, adding immediate value and convenience. Its design is specifically engineered for larger and multi-cat households, handling higher waste volumes more efficiently.
The M1 Plus Lite, while more affordable, doesn’t skimp on core functionality. It still features “Upgraded Safety Protection” and “Odor Control,” meaning it’s far from a basic unit. The key difference here is the APP Control, which the M1 Plus also has, but it’s more prominently featured for the Lite version. The Lite is an excellent choice for single-cat homes or those with average-sized cats where extreme capacity isn’t the primary concern. The lower price point makes it an accessible entry into smart litter management.
Deciding Between Premium and Value
Your decision comes down to your specific needs and budget. If you have multiple cats, larger cats, or simply prioritize the absolute best in safety and long-term odor management, the Neakasa M1 Plus is the clear winner. Its comprehensive features and included accessories justify the higher price. You’re investing in top-tier performance and greater peace of mind. However, if you have one or two average-sized cats, are budget-conscious, and value app control for convenience, the Neakasa M1 Plus Lite is an incredibly strong contender. It delivers most of the core benefits at a significantly lower entry cost. Both are solid choices, but the M1 Plus offers that extra layer of robust engineering for demanding scenarios.
Stop Wasting Time on Low-Impact DIY
Here’s a hard truth: not every DIY project is worth your effort. Some tasks offer minimal return for maximum hassle. Focusing on these low-impact tasks is the biggest mistake you can make. It drains your motivation and leaves you with little to show for it. Your time is valuable; spend it where it makes a real difference to your home’s value or your personal enjoyment.
Overestimating Skill vs. Underestimating Time
Many DIYers fall into this trap. They watch a few YouTube videos and think they can tackle a complex plumbing job or a complete electrical rewire. This isn’t just naive; it’s dangerous. Overestimating your skill leads to costly mistakes, re-dos, and potential hazards. Equally problematic is underestimating the time commitment. That ‘weekend project’ can easily stretch into weeks, eating into your free time, causing frustration, and leaving your home in disarray. Be brutally honest about your capabilities and the actual hours required. A simple paint job? Sure. Tiling an entire bathroom from scratch? Maybe not if you’ve never held a tile cutter.
When to Call in a Pro: Recognizing Your Limits
Knowing when to hire a professional isn’t a sign of weakness; it’s a sign of intelligence. For anything involving structural integrity, gas lines, major electrical work, or complex plumbing, call a licensed contractor. The cost of a professional is almost always less than the cost of fixing a DIY disaster. Also, consider projects that require specialized tools you’ll only use once. Renting tools is an option, but often, the learning curve on specialized equipment makes professional help more efficient. Focus your DIY energy on projects that are genuinely within your skill set and offer a clear return on your time and investment, like furniture makeovers or small cosmetic updates.
Finance Pitfalls for Home Improvements: Your Questions Answered
Home improvements are a money pit if you’re not careful. Many homeowners make avoidable financial mistakes that turn dream projects into nightmares. Getting clear answers to common questions can save you thousands.
"How do I budget for unexpected repairs?"
This is where most budgets fail. Every major home improvement project, especially in older homes, uncovers something unexpected. You open a wall, find shoddy wiring. You lift floorboards, discover water damage. The best practice is to always allocate a contingency fund of 10-15% of your total project budget specifically for surprises. This isn’t ‘extra’ money; it’s a mandatory line item. For example, if your kitchen remodel is estimated at $30,000, set aside $3,000 to $4,500 just for the unknowns. If you don’t use it, great; you’re ahead. If you do, you’re prepared, not panicked. This contingency should be accessible but separate from your main project funds to prevent accidental spending on non-essentials.
"Is refinancing always a good idea for home projects?"
Absolutely not. Refinancing your mortgage to fund home improvements can be a smart move if you get a significantly lower interest rate or need a large sum for a major renovation that adds substantial value. However, it extends the loan term, meaning you’ll pay more interest over the life of the loan. You also incur closing costs, which can be thousands of dollars. For smaller projects, a personal loan or a home equity line of credit (HELOC) might be more appropriate. A HELOC allows you to borrow as needed, and you only pay interest on the amount you’ve drawn. Before refinancing, compare the total cost of the new loan (including interest over the full term and closing costs) against other financing options. Crunch the numbers; don’t just jump at a lower monthly payment. Sometimes, the ‘cheaper’ option upfront costs more in the long run.
Ultimately, smart home improvement is about balance. You need to leverage your DIY skills where they count, make informed financial decisions, and invest in quality products that save you time and money in the long run. Prioritize. For pet owners, that means investing in something like the Neakasa M1 Plus to reclaim time and reduce ongoing costs. For everyone else, it means knowing when to DIY, when to buy, and when to call a pro.