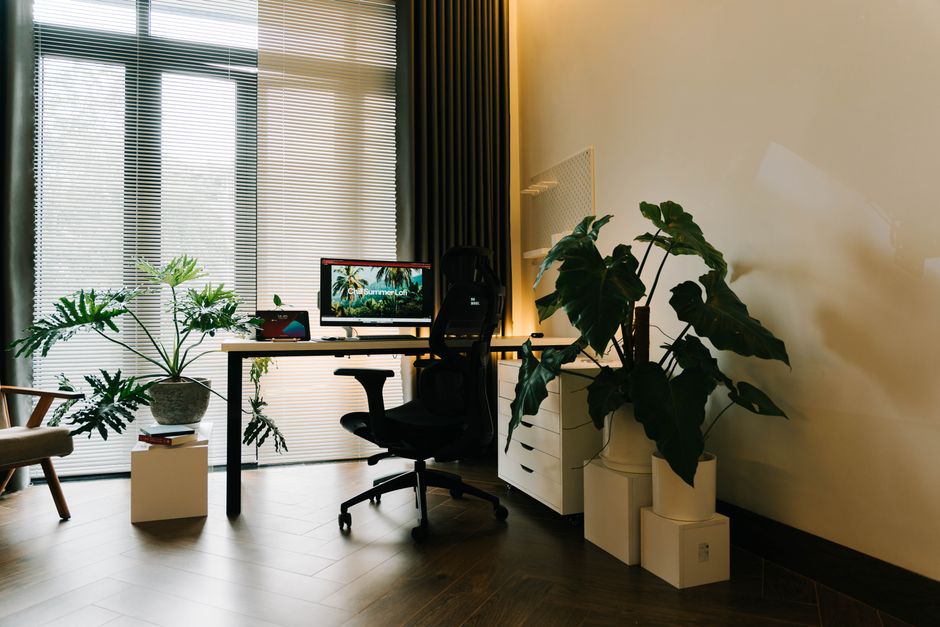
I needed a desk for a 48-inch wall niche in my home office. Store options started at $250 for something that looked like pressed cardboard. A solid wood custom solution? $600 minimum. So I built one myself for $87. That includes the wood, hardware, and finish. Here is exactly how I did it, what I would change, and the one mistake that almost sent the whole thing crashing down.
Why a Floating Desk Makes Sense for Small Spaces
Floating desks solve a specific problem: you need a work surface but have limited floor space or an awkward wall alcove. Standard desks with legs eat square footage you do not have. A wall-mounted desk leaves the floor clear, which makes a small room feel larger and is easier to clean under.
The design I chose uses a French cleat system. This distributes weight across the wall studs rather than relying on hollow drywall anchors. The cleat is two strips of wood cut at a 45-degree angle — one screwed to the wall studs, one screwed to the desk underside. They lock together. The weight of the desk and everything on it pulls the cleat tighter. It is the same system used for heavy kitchen cabinets and large wall art.
French cleats are not the only option. You can use heavy-duty L-brackets rated for 200 pounds each, or a steel shelf track system. The cleat is cleaner visually — no brackets visible under the desk — and costs less than $10 in lumber.
Material List and Exact Costs

| Item | Quantity | Cost |
|---|---|---|
| 3/4-inch birch plywood (2×4 foot sheet) | 1 | $42 |
| 1×4 pine board (8 foot) for cleat | 1 | $6 |
| 1×2 pine board (8 foot) for face frame | 1 | $4 |
| Wood glue | 1 bottle | $5 |
| 2-inch construction screws | 1 box (50) | $7 |
| 3-inch lag bolts for wall cleat | 4 | $4 |
| Danish oil finish (clear) | 1 pint | $12 |
| Sandpaper (80, 120, 220 grit) | 3 sheets | $4 |
| Painters tape | 1 roll | $3 |
| Total | $87 |
I already owned a circular saw, drill, Kreg Jig (pocket hole jig), and a level. If you need to buy those, add $60 for a basic circular saw and $30 for a pocket hole jig. That still keeps you under $200 for the complete project including tools.
The Build Process in 6 Steps
Step 1: Cut the Desk Top and Cleat
I cut the birch plywood to 48 inches wide by 22 inches deep. That depth is enough for a monitor, keyboard, and notebook. Any deeper and you lose leg room. The 1×4 pine became the wall cleat, cut to 46 inches so it fits between two studs that are 16 inches apart center-to-center.
Cut the 45-degree angle on the wall cleat using a circular saw set to 45 degrees. Cut the matching 45-degree angle on a second 46-inch strip for the desk cleat. Test the fit — the two pieces should slide together snugly.
Step 2: Build the Face Frame
I attached the 1×2 pine around the front and side edges of the plywood using wood glue and 1.25-inch pocket holes. This hides the ugly plywood edge and gives the desk a solid 1.5-inch-thick appearance. Clamp it, let the glue dry for one hour, then sand everything smooth.
Step 3: Attach the Desk Cleat
Flip the desk over. Screw the desk cleat (the one with the 45-degree angle facing up) to the underside of the plywood, positioned 2 inches from the back edge. Use wood glue and 1.5-inch screws every 6 inches. The cleat runs the full 46-inch width.
Step 4: Mount the Wall Cleat
Find the studs with a stud finder. Mark them. Hold the wall cleat (45-degree angle facing down) against the wall at your desired desk height — I chose 30 inches from the floor, standard desk height. Use a level. Drill pilot holes through the cleat into the studs. Drive the 3-inch lag bolts through the cleat into the studs. Tighten firmly but do not strip the heads.
Step 5: Hang the Desk
Lift the desk and slide it onto the wall cleat. The 45-degree angles lock together. The desk should sit flush against the wall. If it rocks, the cleat angles are not matching perfectly. I had to sand mine slightly for a tight fit.
Step 6: Apply Finish
Sand the entire desk with 220-grit. Wipe clean. Apply Danish oil with a rag, let it soak 15 minutes, wipe off excess. Wait 6 hours, apply a second coat. Let it cure 24 hours before putting anything on the desk.
The One Mistake That Almost Ruined It
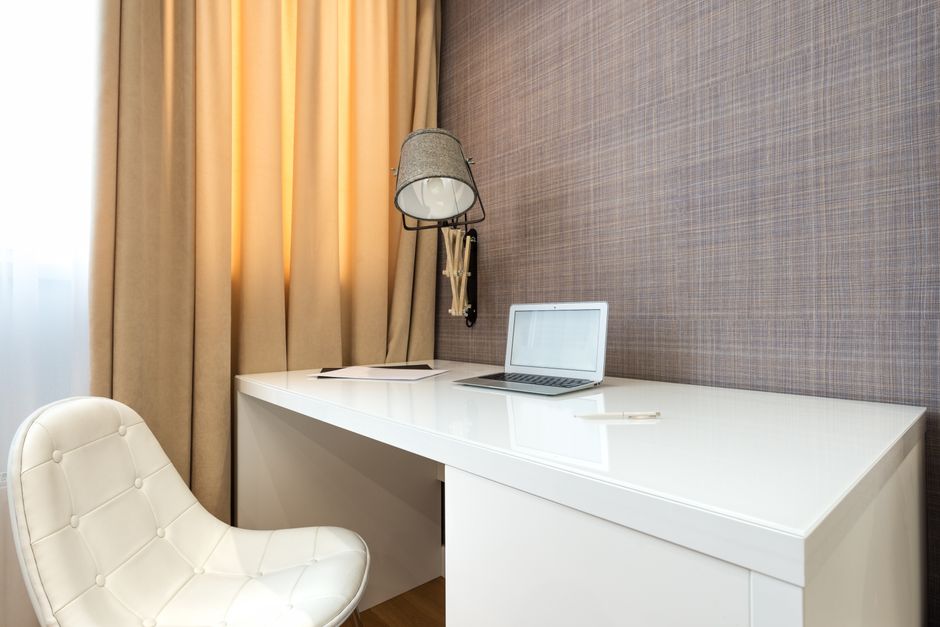
I hung the desk, stepped back, and it was solid. Then I loaded it with a monitor, laptop, and a cup of coffee. An hour later, the front edge had sagged 3/8 of an inch. The 3/4-inch plywood was not stiff enough to span 48 inches without support.
The fix: I cut a 2-inch-wide strip of the leftover plywood, glued and screwed it vertically under the desk at the center point, running from the back cleat to the front edge. This acts as a hidden stiffener. It is invisible from the front. The sag disappeared. If I built it again, I would add this stiffener during assembly or use 1-inch plywood instead.
Other mistakes I see people make: not finding studs and using drywall anchors (the desk will rip out), skipping the level step (your monitor will slide off), and using pre-finished wood that cannot take glue well.
Load Testing — What This Desk Actually Holds
After the stiffener fix, I tested the desk with 60 pounds of weight — two monitors, a laptop, books, and a desk lamp. Zero sag after 30 days. The French cleat system is rated for several hundred pounds if mounted into studs. The weak point is the plywood span, not the cleat.
For a 48-inch span, 3/4-inch plywood with a center stiffener works fine. For spans over 60 inches, step up to 1-inch plywood or add a metal angle bracket underneath. Do not use MDF or particle board — they sag under their own weight over time.
I would trust this desk with 80 pounds max. That covers a dual-monitor setup with a heavy PC tower. If you need more, build a center leg support or use a solid butcher block countertop instead of plywood.
When a Floating Desk Is the Wrong Choice

Floating desks are not universal. If you move apartments every year, drilling into walls and patching holes becomes a hassle. A standard desk with legs is easier to relocate. If your walls are plaster over metal lath (common in pre-1950 homes), finding studs is difficult and drilling through lath is destructive. Renters should get landlord permission before mounting anything.
If you need a desk that adjusts height for standing, a floating desk is not the solution. You would need a motorized standing desk frame like the Uplift V2 or IKEA BEKANT, which start at $400. Those use legs and a mechanism that cannot be wall-mounted.
For a dedicated home office where you work 8+ hours daily, a floating desk works well if you build it right. For occasional use in a guest room or dorm, it is overkill. A $50 IKEA LINNMON tabletop on $15 ADILS legs is simpler and requires no wall damage.