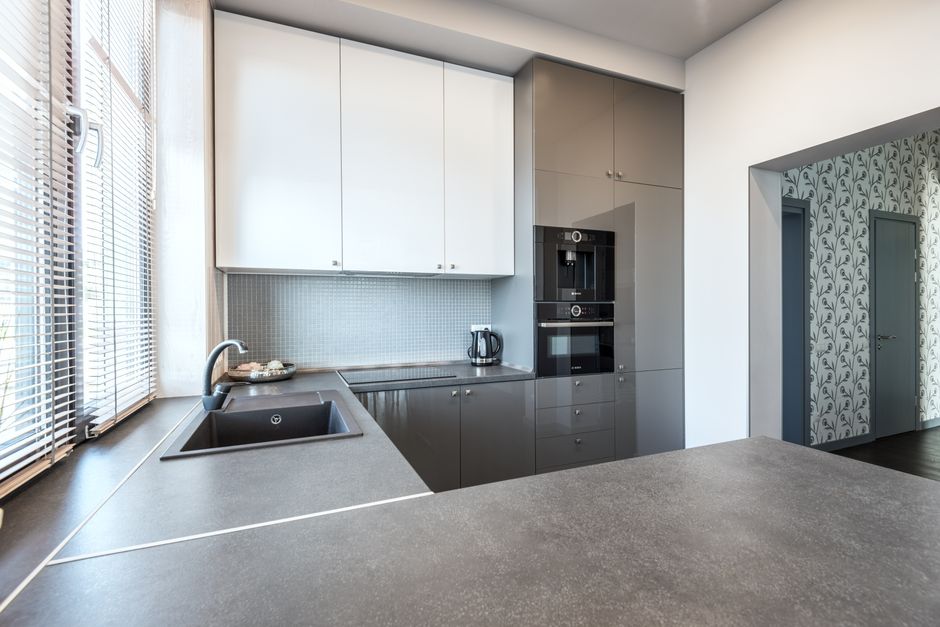
I spent exactly $214.87 on a kitchen backsplash in March 2026. Not a typo. No contractor, no wet saw, no dumpster rental. Just me, a utility knife, and a roll of adhesive tiles from Amazon. Here’s what nobody tells you about the cheap route.
Why I Refused to Spend $1,200 on Tile
Contractors quoted me $1,100 to $1,400 for a standard 25-square-foot backsplash using basic subway tile. That’s before materials. The math is simple: labor eats 70% of the budget. I’m not paying someone $90 an hour to stick rectangles to a wall.
The real question is whether a $200 DIY job survives actual kitchen use. Grease splatter. Steam from the pasta pot. The occasional tomato sauce incident. If the cheap option fails in six months, I’ve wasted $200 and a weekend. If it survives two years, I’ve saved $1,000.
So I ran the experiment. Here’s the breakdown of what I bought:
| Product | Cost | Coverage | Notes |
|---|---|---|---|
| Art3d Peel and Stick Subway Tile (10 sheets) | $89.90 | 10 sq ft | White, 3D grout lines |
| Art3d Peel and Stick Subway Tile (10 more sheets) | $89.90 | 10 sq ft | Second pack for full coverage |
| Rust-Oleum Peel Stop Primer | $14.97 | Full wall | Critical for adhesion |
| Utility knife + extra blades | $12.50 | n/a | Already owned, replaced blade |
| Plastic smoothing tool | $7.60 | n/a | Included with tiles actually |
Total: $214.87. Under budget. Barely.
The Installation Reality Check
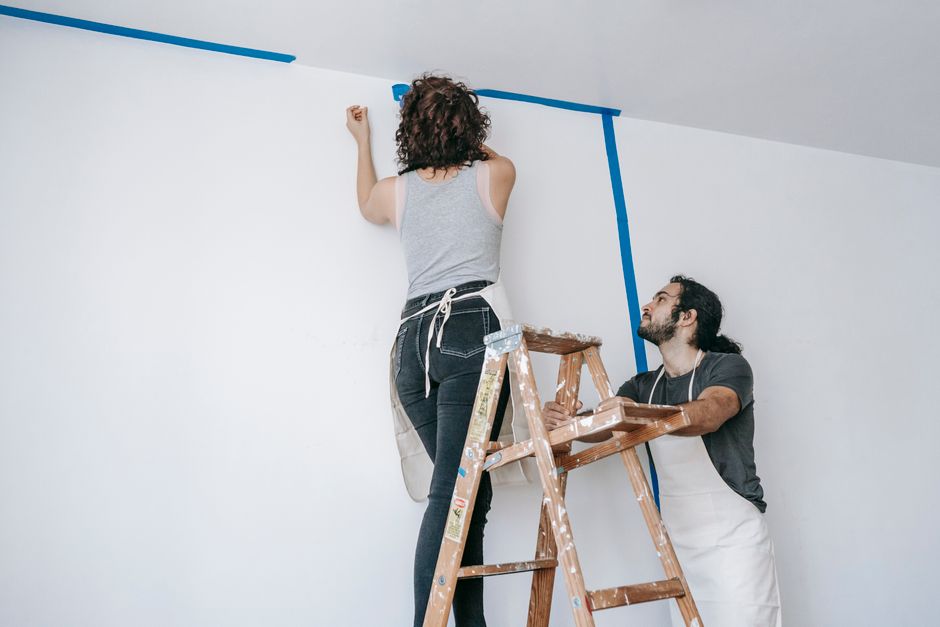
YouTube makes peel-and-stick look like a 45-minute project. It’s not. It took me 5 hours, including cleaning the wall, measuring, cutting around outlets, and fixing three sheets I applied crooked.
Surface prep is non-negotiable
My wall had a light orange-peel texture. The tiles stuck fine. But I scrubbed the entire area with TSP substitute first, then wiped with rubbing alcohol. Any grease residue means the adhesive fails within weeks. This is where most negative reviews come from — people sticking tiles onto dirty walls.
Outlet cuts are the worst part
I have four outlets along my backsplash. Each one required measuring the tile, marking the cutout, and slicing carefully. The Art3d tiles cut cleanly with a sharp blade, but the vinyl edges fray if you rush. I ruined two sheets before getting the technique down: score lightly first, then press harder on the second pass.
The 3D grout line trick
The Art3d tiles have raised grout lines that interlock. This is what makes them look like real tile from three feet away. Up close, you can tell. The seams between sheets are visible if you don’t stagger them like real subway tile. I staggered every other row, which meant more cutting but a much more convincing result.
What Happened After 8 Months of Cooking
This is the part that matters. Anyone can make a backsplash look good on day one. The question is whether it survives actual use.
After 8 months of daily cooking — including frying bacon, simmering tomato sauce, and boiling pasta — the tiles look exactly the same as day one. No peeling. No yellowing. No grease stains that won’t wipe off. I clean them with a damp cloth and mild dish soap weekly.
The one issue: two tiles near the stove have slightly softened at the edges from direct heat exposure. My gas stove sits close to the wall, and the constant heat cycling caused minor curling. It’s not visible unless you look closely, but it’s there. If I had a gas stove with a higher BTU output, I’d install a stainless steel heat shield behind the burners first.
For electric or induction stoves, this is a non-issue.
The Products I’d Actually Recommend
Not all peel-and-stick tiles are created equal. I tested three brands before committing to Art3d. Here’s the honest breakdown:
- Art3d Peel and Stick Subway Tile — $9 per square foot. Best balance of price and realism. The 3D grout lines are deeper than competitors. Available in white, gray, beige, and black. This is my pick for most kitchens.
- Smart Tiles Metro Collection — $12 per square foot. Slightly better adhesive, but the grout lines are shallower. Looks flatter. Not worth the premium unless you find a color Art3d doesn’t offer.
- Aspect Peel & Stick Glass Tile — $15 per square foot. Genuine glass mosaic look. Gorgeous but expensive for what you get. At $375 for 25 square feet, you’re halfway to real tile. Skip unless you want a very specific aesthetic.
- Mineral Tiles by MSI — $8 per square foot. Real stone veneer with adhesive backing. Looks incredible but brittle. I cracked two tiles just handling them. Not for beginners.
For a standard white subway look, Art3d is the clear winner. Don’t overthink it.
When You Should NOT Do This
Peel-and-stick backsplash is not for every kitchen. I need to be blunt here.
If your wall has heavy texture — knockdown, popcorn, or anything rougher than orange peel — the tiles will not adhere properly. You’ll see air bubbles and eventual peeling. In that case, you’d need to skim-coat the wall first, which adds $50 to $100 in materials and real skill requirements.
If you’re selling your house within a year, buyers can tell. The seams between sheets are visible under bright light. Real tile adds perceived value. Peel-and-stick adds zero resale value and might even raise questions during inspection.
If you have a gas range with high BTU burners or a wall oven directly adjacent to the backsplash, the heat will eventually damage vinyl tiles. Real ceramic tile handles heat indefinitely. Vinyl does not.
The Verdict: Was It Worth It?
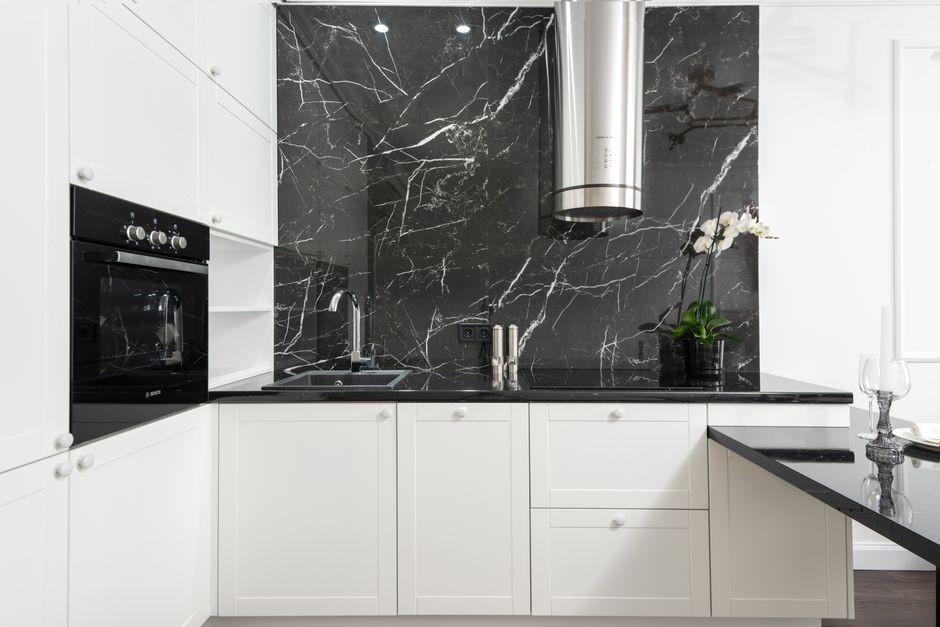
Yes. For $214.87 and 5 hours of work, I transformed a dated beige backsplash into a clean white subway tile look. The kitchen feels brighter and more finished. No regrets.
But I’m also aware this is a temporary solution. In 3 to 5 years, I expect to either replace the tiles or upgrade to real tile when I do a full kitchen renovation. For now, the $1,000 I saved is sitting in a home improvement fund instead of a contractor’s pocket.
If you’re renting or planning to sell within 2 years, do it. If you’re settling into a forever home, save for real tile. That’s the honest answer.
Three Mistakes I Almost Made
Before you start, avoid these three things that nearly derailed my project:
Skipping the primer. Peel-and-stick tiles claim to stick to anything. They don’t. A $15 bottle of Rust-Oleum Peel Stop creates a tacky surface that dramatically improves adhesion. Without it, the tiles will start peeling at the corners within weeks, especially in humid kitchens.
Not ordering enough tiles. Measure your square footage. Then add 10% for waste. I measured 18 square feet and ordered 20. I used 19.5. Cutting around outlets and staggering seams creates waste. If you run out mid-project, the dye lot might not match on the reorder.
Installing tiles straight out of the box. Let the tiles acclimate to your kitchen’s temperature for 24 hours before installing. Cold vinyl is stiff and brittle. Warm vinyl flexes and conforms to wall texture better. This is a small step that makes a big difference.