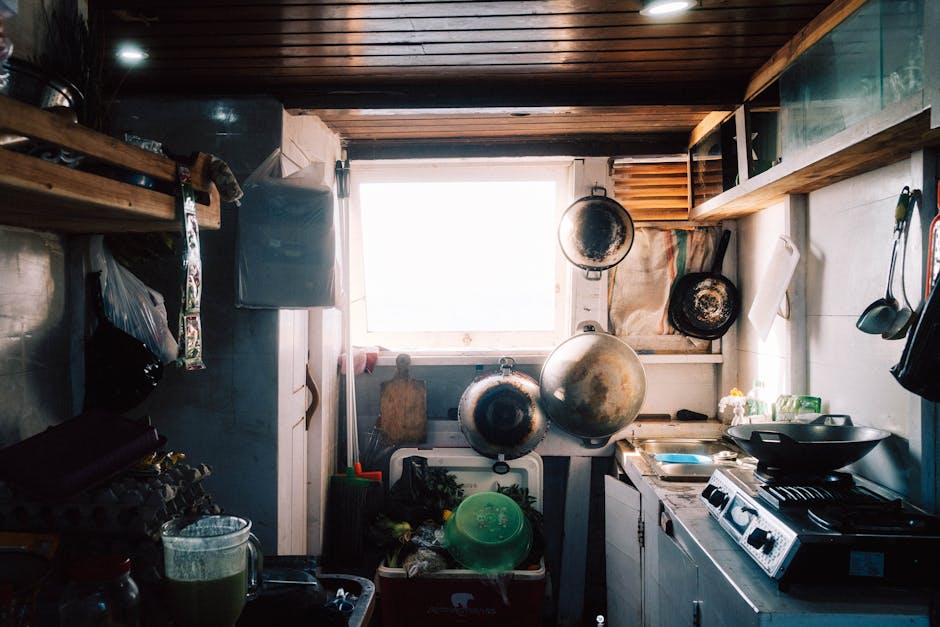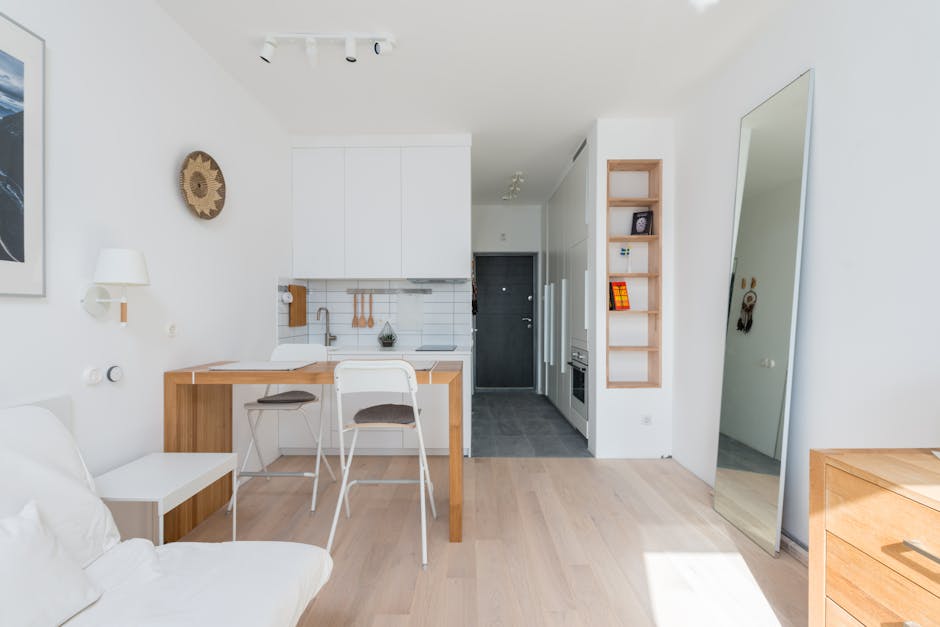
The best budget kitchen makeover starts with the cabinets you already own. If the boxes feel solid, the doors sit square, and the damage stays on the surface, refinishing can save thousands compared with replacement. A careful DIY job usually costs about $150 to $350 for an average kitchen, depending on the primer, paint, hardware, and tools.
The clear winner for most dated but sound cabinets is a light sanding, oil or shellac stain-blocking primer, and a durable water-based cabinet enamel. The finish will look modern only if the preparation is thorough. Paint cannot hide grease, loose laminate, swollen particleboard, or badly damaged hinges.
Can Your Old Cabinets Be Refinished?
Start with the cabinet condition, not the color. Refinishing changes the surface appearance, but it does not repair weak cabinet boxes or warped doors. This quick inspection prevents the most expensive mistake: spending a weekend painting cabinets that need replacement.
Check the doors, boxes, and edges
Open every door and drawer. Look for loose joints, cracked rails, water damage under the sink, and shelves that sag under normal weight. Small dents and shallow scratches rarely matter because filler and primer can smooth them. A door that twists, a box with swollen particleboard, or a hinge area that will not hold a screw points to repair or replacement.
Pay special attention to the lower edge of sink-base doors. Repeated moisture can make MDF and particleboard swell. Once the edge has become soft and fuzzy, paint will not restore its strength. Replace that door or cut away the damaged section before refinishing the rest.
Identify the existing cabinet surface
Solid wood and wood veneer usually accept paint well after cleaning and sanding. Thermofoil and plastic laminate need a stronger adhesion test. Choose a hidden spot, scuff it, prime it, and leave the coating for three days. Press painter’s tape firmly onto the test area and pull it away. If flakes or large chips come off, the surface needs more preparation, a bonding primer, or a different plan.
Verdict: Refinish when the structure is sound and the damage is cosmetic. Replace only the doors or the damaged cabinet sections when the boxes remain useful. That hybrid approach gives a modern result without paying for a full kitchen tear-out.
What Does a Budget Cabinet Refinishing Job Cost?
A realistic budget includes cleaning supplies, surface repair, primer, two finish coats, sanding materials, and new hardware if the old pulls date the kitchen. Prices below reflect typical retail ranges in 2026 and vary by store, region, and paint size.
A practical $150 to $350 budget
| Item | Typical 2026 price | What it covers |
|---|---|---|
| Degreaser and cloths | $15-$25 | Removes cooking oil before sanding |
| Zinsser B-I-N Shellac-Based Primer, 1 quart | About $28 | Seals wood tannins and stubborn stains |
| Benjamin Moore Advance, 1 gallon | About $65 | Enough finish for many average kitchens |
| Purdy XL Glide 1.5-inch angle brush | About $18 | Edges, corners, and detailed profiles |
| Wooster 4-inch microfiber mini roller | About $10 | Smoother coverage on broad panels |
| Sandpaper, filler, tape, and drop cloths | $30-$55 | Prep and protection supplies |
| New knobs or pulls | $30-$150 | Optional visual upgrade |
Where to spend and where to save
Spend on the primer and the application tools. Cheap rollers can leave lint and uneven texture, while a worn brush creates ridges around the door frames. Save by keeping the existing hinges, painting the cabinet boxes yourself, and buying hardware only for the most visible doors. For a small kitchen, a quart of primer and one gallon of paint may cover the job; large kitchens often need a second gallon.
Verdict: The best value setup is Zinsser B-I-N for stain control, Benjamin Moore Advance for the finish, and one good angle brush paired with a microfiber roller. That combination costs more than a basic wall-paint kit, but it sharply reduces peeling, bleed-through, and brush marks.
How to Refinish Cabinets Without Peeling Paint
Plan for several workdays because drying and curing matter as much as painting. The most reliable sequence is simple: clean, repair, dull the surface, prime, sand, paint, and wait before heavy use.
Use this preparation and painting order
- Remove and label everything. Take off doors, drawers, knobs, and hinges. Mark each door and its matching opening with removable tape so the final reassembly does not become a guessing game.
- Clean twice. Wash the doors and boxes with a kitchen-safe degreaser. Rinse away residue, then let the surfaces dry completely. Paint will not bond to an invisible film of cooking oil.
- Repair visible damage. Fill dents and old handle holes with a suitable wood filler. Allow it to dry, then sand it flush. Tighten loose hinges and replace stripped screws before painting.
- Scuff every painted area. Use 120- to 150-grit paper to remove gloss, then finish with 180- to 220-grit paper. You do not need to remove every layer of old paint. You do need to create a uniformly dull surface.
- Remove dust. Vacuum the corners and wipe the surfaces with a clean, slightly damp cloth. Let them dry before primer.
- Prime with thin coats. Apply one even coat to doors, edges, and cabinet frames. Heavy primer runs into corners and takes longer to cure. Sand lightly after it dries and remove the dust.
- Apply two thin finish coats. Roll broad flat areas and brush the profiles. Keep a wet edge, avoid repeatedly brushing half-dry paint, and inspect the surface from several angles before it sets.
- Let the finish cure. Reattach doors only after the paint feels dry and firm. Treat the cabinets gently for at least several days, and avoid scrubbing or slamming doors during the first week.
Control dust, texture, and dry time
Paint in a clean room with moderate temperature and airflow. A fan can help the room exchange air, but aim it across the room rather than directly at wet doors. Direct airflow can pull dust into the finish or dry the surface too quickly. Place doors flat on painter’s pyramids or similar supports, and flip them only after the first side has hardened.
Verdict: Thin coats and patience produce a better finish than one thick coat. Most peeling failures begin before the paint touches the cabinet: grease remains, the glossy surface stays intact, or the next coat goes on before the last one has dried.
Which Paint and Primer Make Old Cabinets Look Modern?
Choose a cabinet enamel with a hard, smooth finish; ordinary flat or eggshell wall paint is the wrong shortcut. Cabinet doors receive repeated handling, steam, food splashes, and cleaning. They need a coating that levels well and becomes tougher as it cures.
Best overall paint for a durable DIY finish
Benjamin Moore Advance is the strongest all-around pick for homeowners who want a furniture-like surface. Its water-based formula cleans up more easily than an oil enamel and levels well when applied in thin coats. A gallon costs about $65 in common 2026 retail pricing. Choose satin for a soft modern look that hides small flaws, or semi-gloss when easy cleaning matters more than a low-sheen appearance.
Sherwin-Williams Emerald Urethane Trim Enamel is the better choice for a busy kitchen where doors receive heavy daily use. It costs roughly $85 to $95 per gallon and has a tougher trim-paint feel. The tradeoff is price and a longer learning curve: rushed application can leave visible lap marks.
Best primer for stains and best shortcut for small jobs
Zinsser B-I-N Shellac-Based Primer is the best stain blocker for knots, dark wood, smoke marks, and water stains. A quart costs about $28. It dries quickly, but it has a strong odor, so use ventilation and follow the label. For a small project with clean, previously painted doors, a water-based bonding primer may be more comfortable to use.
Rust-Oleum Cabinet Transformations kits cost about $80 and bundle several materials for a smaller kitchen. The kit can simplify shopping, but it gives you less control over color, sheen, and repair products. General Finishes High Performance topcoat, around $25 for a pint, can add protection over compatible painted surfaces, yet many quality cabinet enamels already provide the needed finish.
Verdict: Use Benjamin Moore Advance for the best balance of appearance, toughness, and ease of use. Pick Emerald Urethane when durability matters more than budget. Use B-I-N under either one when stains or dark wood threaten to show through.
Cabinet Refinishing Questions That Prevent Costly Mistakes
Should you paint the cabinet interiors?
Paint the interiors only when they look damaged or strongly clash with the new exterior. Interior shelves take more abrasion from dishes and pans, so they need extra curing time. A clean, stable interior can stay as it is, which saves paint and reduces the chance of sticking doors.
Is sanding enough for laminate cabinets?
Not always. Laminate has a slick, nonporous face, so sanding alone may leave a weak bond. Scuff the surface evenly, remove all dust, and use a bonding primer designed for difficult surfaces. Always perform the hidden tape test before committing to every door.
When should you avoid refinishing?
Avoid a full refinishing job when more than a few cabinet boxes have water swelling, when the doors no longer close squarely, or when the existing surface sheds large flakes. Replacement doors may make sense if the boxes are sound but the door style is the main problem. Avoid dark paint on heavily textured doors if your goal is a smooth modern look; darker colors reveal dents and roller texture more clearly.
New hardware often creates the final modern change. Measure the distance between existing screw holes before ordering pulls. If the new handles use a different spacing, fill the old holes, let the filler cure, and drill fresh holes with a template.
Final recommendation: For sound wood, veneer, or properly prepared laminate cabinets, refinish them with a stain-blocking primer and Benjamin Moore Advance in satin. Keep the boxes, repair only what needs repair, and spend the saved money on lighting and hardware. That plan gives the kitchen a clean 2026 look while keeping the makeover firmly below replacement-cabinet costs.