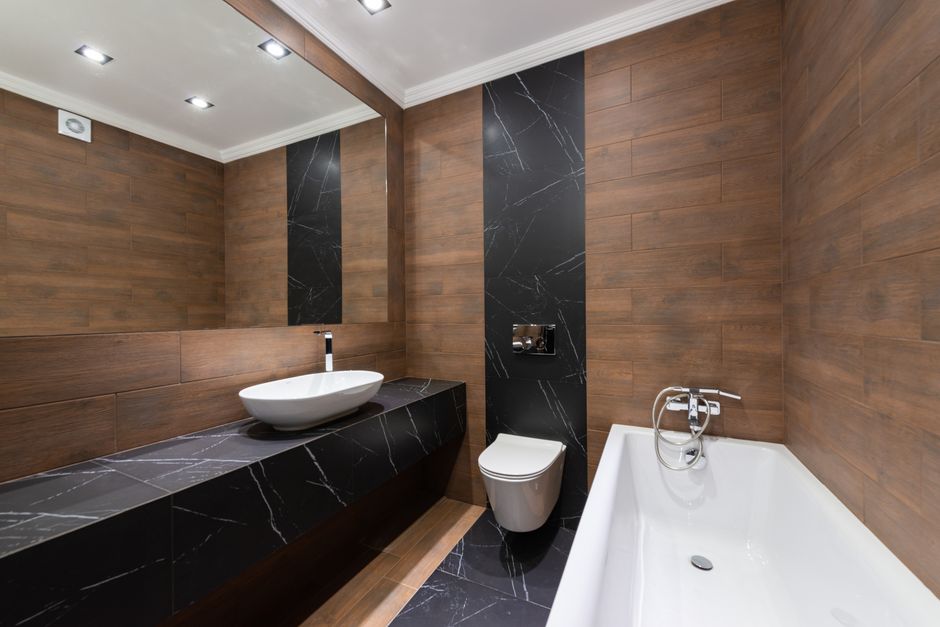
I stared at my 1980s bathroom vanity for three years. The laminate was peeling at the bottom edge. The particleboard had swollen near the sink drain. And that fake wood grain pattern? It fooled nobody. I priced replacements at Lowe’s and Home Depot. A half-decent 36-inch vanity with a countertop started at $450. With a top and faucet? Pushing $700. So I went the DIY route. Total spend: $287.43. Here’s exactly how I did it, what I’d do differently, and when I’d tell you to just buy the $700 one.
The $287 Budget Breakdown: Where Every Dollar Went
I kept a running spreadsheet. Here’s the exact cost breakdown for my 36-inch single-sink replacement. Prices are from Home Depot and a local plumbing supply shop in early 2026.
| Item | Brand / Model | Cost |
|---|---|---|
| Vanity cabinet (unfinished) | Home Decorators Collection 36″ base cabinet | $119.00 |
| Vanity top with sink (36″ x 22″) | Allen + Roth cultured marble, white | $89.00 |
| Faucet | Delta Lahara 2-handle centerset | $39.97 |
| Drain assembly | BrassCraft pop-up drain | $9.87 |
| Supply lines (2x) | Fluidmaster braided stainless, 20″ | $7.58 |
| Caulk + silicone | GE Silicone II, clear + white | $12.00 |
| Paint + primer | Behr Marquee, semi-gloss, 1 quart | $10.01 |
| Total | $287.43 |
I already owned the tools: circular saw, drill, level, tape measure, putty knife, and a bucket for the old sink trap. If you’re buying tools from scratch, add $60–$80 for a basic drill and saw blade.
What I Learned Removing the Old Vanity (The Hard Way)
Removing the old vanity took longer than installing the new one. Three things caught me off guard.
The Caulk Battle
Whoever installed the original vanity used industrial-grade silicone caulk. I spent 45 minutes with a putty knife and a heat gun. Next time? I’d use a Kohler caulk remover tool ($6) and a utility knife blade first. Score the caulk line before prying.
Hidden Water Damage
When I pulled the old cabinet away from the wall, the drywall behind it was soft. A slow leak from the supply line had been soaking the wall for years. I had to cut out a 12×12 inch section of drywall and patch it. Add $15 for a drywall patch kit and mud. Check for this before you start demolition. If you find rot, your $300 budget just doubled.
The Supply Line Trap
Old shut-off valves often seize up. Mine did. I had to shut off the main water to the house and replace both valves. That’s another $12 and 30 minutes. If you’re doing this swap, buy two new quarter-turn shut-off valves before you start. They cost $4 each and save a plumbing emergency.
Step-by-Step Installation: What Actually Works
I’m not going to pretend this took a weekend. It took me about six hours spread over two days, mostly because I had to paint the cabinet and let it dry overnight.
Day 1: Prep and Paint
I bought an unfinished cabinet because it was $40 cheaper than a pre-finished one. I sanded it with 120-grit paper, wiped it down with a tack cloth, and applied two coats of Behr Marquee semi-gloss. The paint dries to the touch in an hour, but I let it cure overnight. Do not skip this step — paint on a bathroom cabinet takes abuse from humidity and splashes.
Day 2: Install the Cabinet and Top
I used a level to mark the wall at 34.5 inches (standard vanity height). The cabinet went in first, shimmed level at the front and back. I screwed it into the wall studs with 2.5-inch deck screws. Then I set the cultured marble top on top. It weighs about 40 pounds — get a helper. I ran a bead of silicone around the top edge before setting it down. The faucet went in after the top was seated, not before. That sequence matters: if you install the faucet first, you can’t get your hands underneath to tighten the nuts.
Three Mistakes I Made So You Don’t Have To
These cost me time and a little money. Learn from them.
- Mistake #1: Not measuring the rough-in. My old vanity had a 4-inch spread faucet. The new top came with a 8-inch widespread faucet hole pattern. I had to return the first faucet I bought. Measure the distance between the center of your faucet holes before buying anything.
- Mistake #2: Forgetting the P-trap alignment. The new vanity cabinet sits slightly taller than the old one. That shifted the drain pipe height by 1.5 inches. I had to buy an extension tube ($3) to reach the wall drain. Check the P-trap alignment before you glue anything.
- Mistake #3: Over-caulking. I applied too much silicone around the top edge. It squeezed out and looked messy. Less is more. Run a thin bead, then smooth it with a wet finger. Wipe excess immediately.
When You Should NOT Do This — Buy the $700 Vanity Instead
I’m a fan of DIY, but this project isn’t for everyone. Here’s when you should buy a pre-assembled vanity from a big box store.
Your floor isn’t level. If your bathroom floor slopes more than 1/4 inch over 36 inches, shimming a cabinet is a pain. Pre-built vanities with adjustable feet handle this better. The IKEA GODMORGON line has adjustable legs that make leveling trivial. It costs around $400 for a 36-inch version, plus top and faucet.
You need a double sink. A 60-inch double-sink vanity is heavy and awkward. The countertop alone can weigh 100+ pounds. The cost savings on a DIY version shrink to near zero once you factor in the risk of cracking the top during installation.
Your existing plumbing is corroded. If you see green crust on copper pipes or the shut-off valves won’t turn, you’re looking at a full plumbing repair. That’s a different skill set. Call a plumber or buy a vanity that fits without moving pipes.
You value your weekend. This project took me about 10 hours total, including paint drying time. If your time is worth $50/hour, you just spent $500 in labor to save $400. Buy the pre-built one.
The Verdict: Is the $300 DIY Worth It?
Yes — if you fit the profile. You have basic tool skills. Your existing plumbing is in decent shape. You’re okay with an unfinished cabinet that needs paint. And you can handle a few hours of frustration.
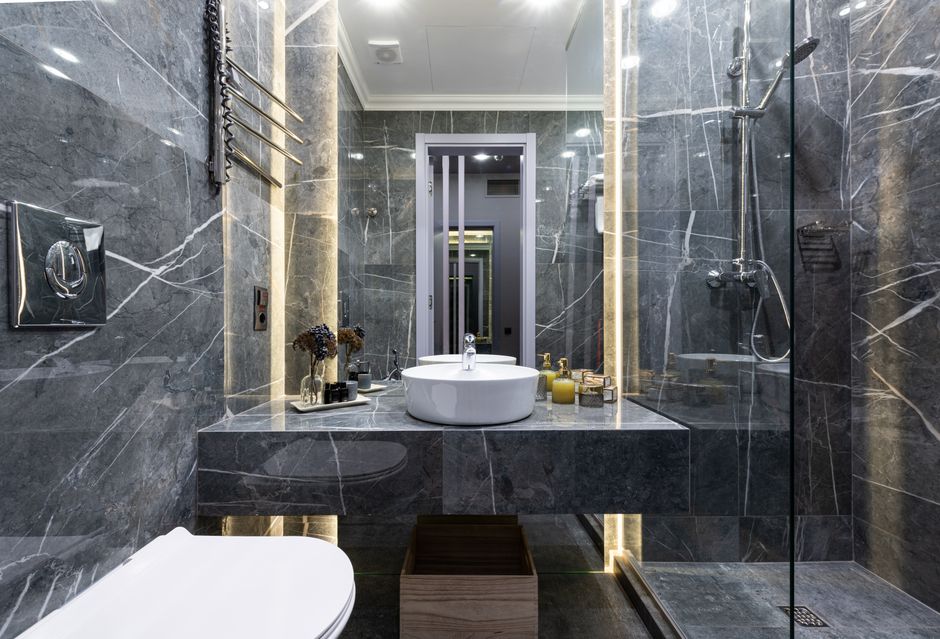
My new vanity looks clean and modern. The cultured marble top is easy to wipe down. The Delta faucet works smoothly. It’s not a $2,000 custom piece, but it’s a massive upgrade from the 1980s laminate disaster. For $287, I got exactly what I wanted: a functional, good-looking vanity without paying retail markup.
If you’re on the fence, start by measuring your rough-in and checking the condition of your shut-off valves. Those two steps will tell you if this project is a smart $300 win or a trap that will cost you twice that.