Can you install under-cabinet kitchen lighting without opening the walls, hiring an electrician, or ending up with harsh blue glare on the countertop? Yes, if you choose the right power method first and plan the light around the work surface instead of the cabinet doors. The best DIY setup for most kitchens uses low-voltage LED bars or tape, a hidden power supply, warm-neutral 3000K light, and enough output to illuminate the front half of the counter without shining into your eyes.
Why under-cabinet lighting improves a kitchen more than ceiling lights
The work-surface problem overhead lights cannot solve
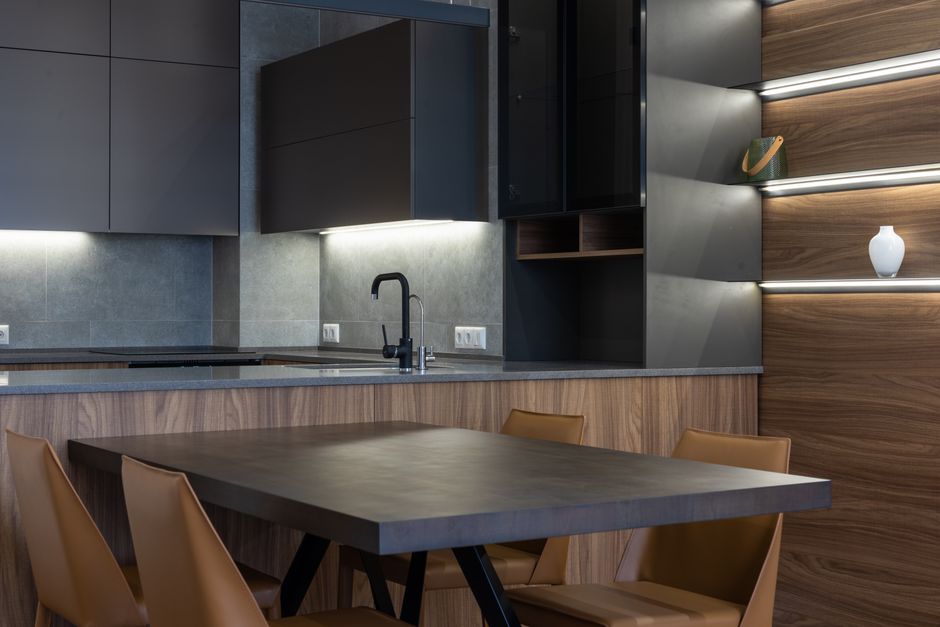
My strong recommendation is to treat under-cabinet lighting as task lighting, not decoration. Ceiling fixtures light the room, but your head and upper cabinets often cast a shadow directly across the chopping board, sink, and coffee station. A light source mounted below the cabinet moves illumination forward, placing it where your hands work. That simple change can make a dark kitchen feel easier to use without adding a brighter ceiling fixture.
The category exists because kitchens have two different lighting jobs. Ambient light helps people move around the room, while task light helps them read a recipe, slice vegetables, inspect a pan, or wipe crumbs from a counter. Under-cabinet fixtures handle the second job with less wasted light. You need fewer lumens than you would from a new ceiling fitting because the beam travels only a short distance to the worktop.
The best starting specification for most homes
Start with 300 to 500 lumens per linear metre for everyday prep areas, 3000K color temperature, and a diffuser that hides individual LED dots. Choose 2700K if your kitchen has warm wood and soft cream finishes. Choose 4000K if you need a sharper work light and your cabinets have white, gray, or blue finishes. Avoid 5000K in a residential kitchen unless you specifically want a cool, workshop-like appearance.
For a normal 2.4-metre run of cabinets, aim for even coverage rather than one very bright point. A continuous strip or several linked bars usually looks calmer and reduces dark gaps. The clearest verdict is simple: install a low-glare, warm-neutral light across the main preparation area before spending money on decorative color effects.
Which under-cabinet lighting setup fits your kitchen?
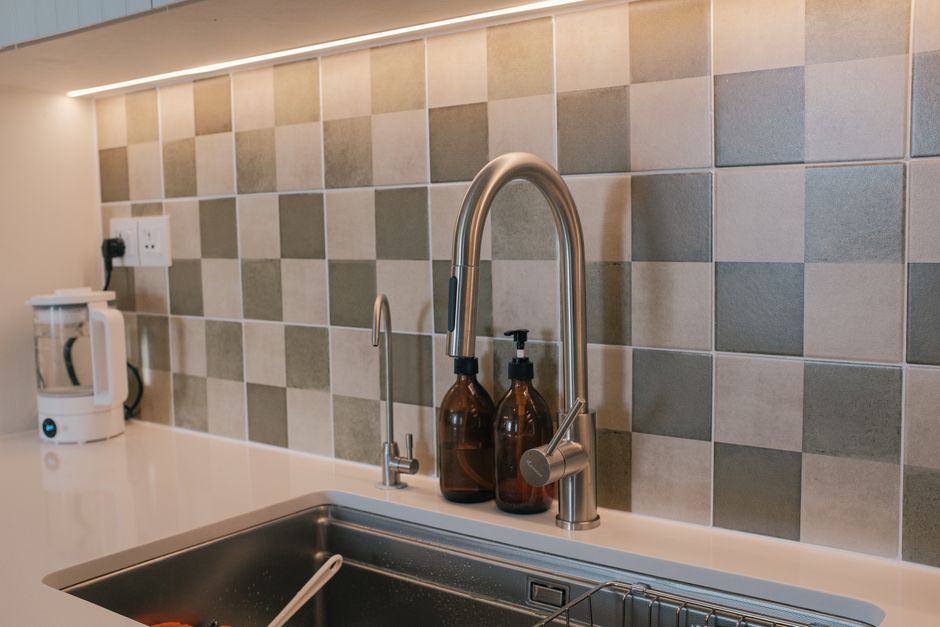
For renters and first-time DIY installers, plug-in LED bars are the safest winner because they need no alteration to the mains wiring. For a kitchen renovation, a concealed low-voltage tape-light system gives the cleanest result. Smart lighting earns its higher cost only when you already use a compatible home system or genuinely want scenes and voice control.
Compare the main installation types
| Setup | Typical output | Typical 2026 price | Best use | Main drawback |
|---|---|---|---|---|
| Plug-in LED bar | 250 to 500 lumens per bar | $25 to $60 per bar | Rental kitchens and quick upgrades | Visible cable and adapter |
| Low-voltage LED tape | 300 to 800 lumens per metre | $60 to $180 per run | Renovations and continuous light | Needs careful measuring and a hidden driver |
| Hardwired LED fixture | 300 to 700 lumens per fixture | $100 to $300 installed | Permanent, polished kitchens | Mains wiring may need an electrician |
| Smart LED strip | Up to 1600 lumens per 2-metre strip | $80 to $150 per strip | Scenes, dimming, and app control | Higher cost and more setup points |
Three real products and the jobs they suit
The GE Enbrighten Premium 24-inch LED Light Bar is the practical pick for a renter. It commonly sells near $30, produces roughly 300 lumens, and suits a short sink or coffee station. The Philips Hue White and Color Ambiance Lightstrip Plus 80-inch costs about $90 and can produce up to 1600 lumens per 2-metre strip, but its price makes sense only if you want app control, color scenes, or integration with an existing Hue bridge.
For a built-in look, Armacost Lighting RibbonFlex Pro 24V LED tape in a 16.4-foot, 3000K kit usually costs around $60 before adding the power supply, aluminum channel, and connectors. It wins for long, continuous runs because you can cut the tape at marked points and hide the wiring. The product verdict is clear: choose GE for a quick low-risk upgrade, Philips Hue for smart control, and Armacost for a renovation-grade continuous line.
How to install under-cabinet lighting in seven safe steps
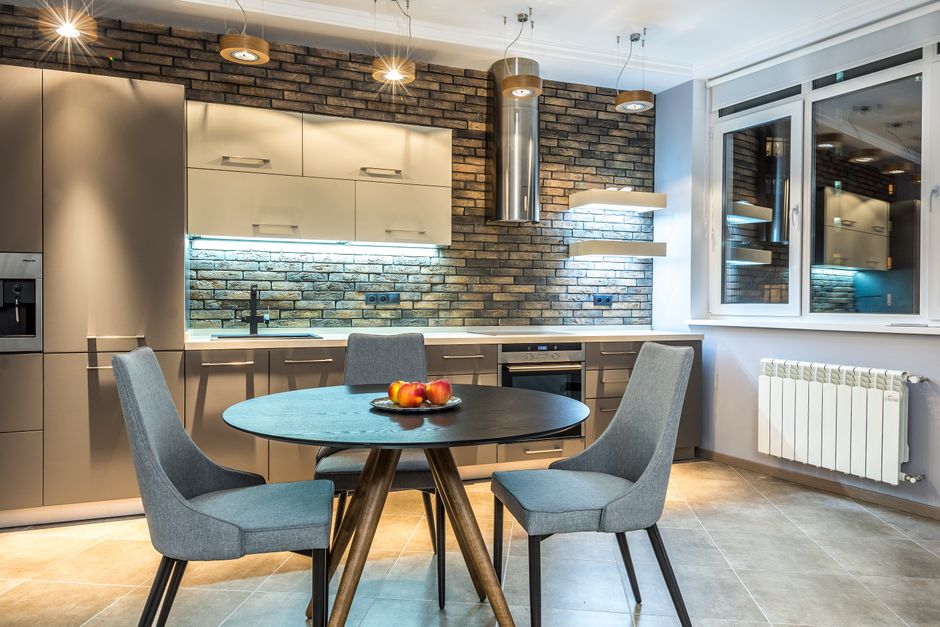
Use this sequence for a plug-in or low-voltage system. The order matters because many messy installations start with drilling before the owner has checked the power route.
Prepare the cabinet underside
- Clear the counter and clean the mounting area. Remove appliances, wipe grease from the cabinet underside, and let the surface dry. Adhesive backing fails quickly on dusty or oily laminate.
- Mark the light position. Measure 5 to 8 centimetres back from the cabinet face. Use masking tape to mark the centreline so every bar or channel follows the same visual path.
- Test the layout before fixing it. Place the fixtures or tape loosely under the cabinets, connect the power, and switch the lights on. Stand at the normal working position and check for glare, dark corners, and shadows from the cabinet frame.
Mount the lights and route the cable
- Fix the fixtures. Use the supplied screws for heavy bars or aluminum channels. Use adhesive only when the surface is smooth, clean, and the light is light enough for the tape to support. Do not attach a hot driver to the underside of a cabinet.
- Connect sections with the correct polarity. Match positive and negative terminals on low-voltage connectors. Keep the cut marks aligned with the manufacturer’s instructions. A reversed connection may leave the strip dark or damage the connector.
- Secure the cable. Run the cable along the back edge of the cabinet with clips, leaving enough slack to disconnect the driver. Keep wires away from the cooker, kettle steam, sink splashes, and sharp shelf brackets.
Test before finishing the job
- Test for heat, flicker, and coverage. Run the lights for 20 to 30 minutes. Touch the aluminum channel or fixture carefully; it may feel warm, but it should not become painfully hot. Check the dimmer at its lowest setting and inspect every connector for flicker. Only after the light works correctly should you remove the last protective film and tidy the cable route.
The most common failure is not a bad LED. It is a rushed layout, an overloaded driver, weak adhesive, or a power supply trapped where heat cannot escape. Fix those details during installation and the system should need little attention for years.
Which products should you buy, and when should you skip them?
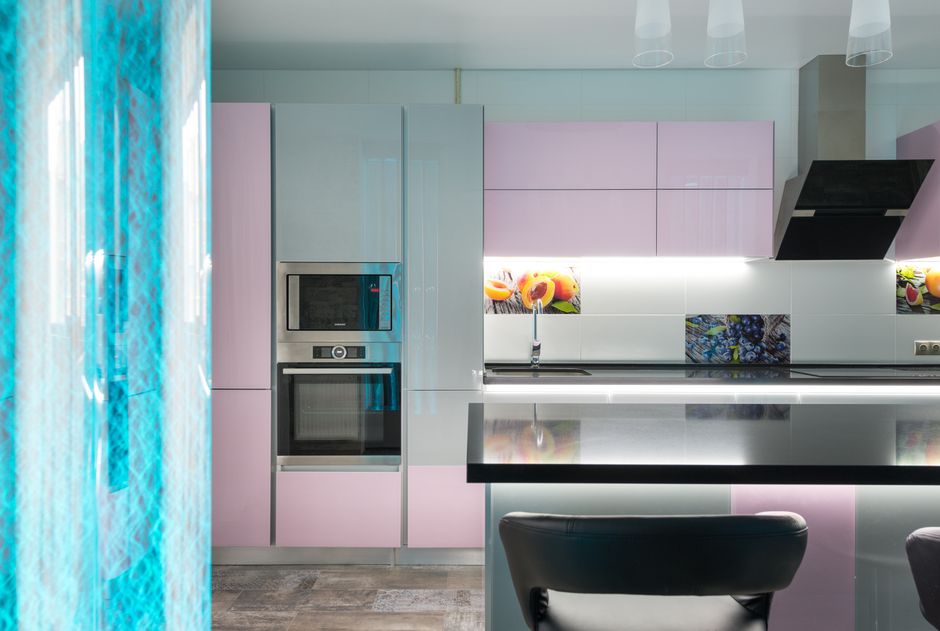
Buy the simplest system that solves the actual lighting problem. Extra features add failure points, and a smart strip cannot compensate for poor placement or a bad color temperature.
Is a plug-in light bar the best choice?
Choose the GE Enbrighten Premium 24-inch LED Light Bar when you need light over one short section and want a fast installation. At roughly $30 and about 300 lumens, it gives a renter a sensible balance of cost, output, and reversibility. Linkable bars can cover longer runs, but inspect the cable spacing before buying; some kits leave a noticeable dark band between fixtures.
Skip this style if you want a completely hidden installation or if several adapters would crowd the cabinet. A row of visible wires can make a new kitchen look temporary. In that case, a low-voltage tape system with an aluminum diffuser deserves the extra planning.
Does smart LED tape justify its price?
Choose the Philips Hue White and Color Ambiance Lightstrip Plus 80-inch when you already own Hue equipment and value scenes, schedules, or voice control. Its roughly $90 price buys flexibility, not better basic task lighting. Set it to a warm white scene for food preparation and dim it for evening use; color effects are fun, but they do not improve knife work or dishwashing.
Skip smart tape if the kitchen only needs one on-off light. The controller, app, wireless network, and extra power connections create more ways for the system to stop responding. A standard dimmable 3000K strip costs less and remains usable if the router changes or the app loses support.
When does professional-grade tape make sense?
Choose Armacost Lighting RibbonFlex Pro 24V LED tape when the cabinets form a long, continuous run and you want the LEDs to disappear behind a diffuser. A typical 16.4-foot 3000K kit costs around $60 before the driver and channel. It gives a cleaner line than separate bars, but the final price rises after you add connectors, a correctly sized power supply, and mounting hardware.
Do not buy tape lighting for a quick weekend fix if you have not measured the run or planned the driver location. It is also a poor choice for a wet area without suitable protection. For a sink cabinet, use a fixture and power method rated for the environment, keep connections away from splash zones, and follow local electrical rules. For most kitchens, the best long-term answer is a warm, dimmable, evenly spaced light that disappears during the day and makes the counter easier to use at night.
Under-cabinet lighting is moving toward smaller drivers, better diffusers, and simpler controls, but the basic principle will stay the same: good kitchen light comes from putting the right amount of light exactly where the work happens.